How to Connect
Use this guide when you want to connect to your own Satisfactory server. Follow the same flow HaruHost shows in How to connect: make sure the server is reachable first, then complete the first-time setup through Server Manager inside Satisfactory.
Location
Section titled “Location”- Game Servers →
Your Game Server Name→How to connect
Part 1: Make sure the server is reachable
Section titled “Part 1: Make sure the server is reachable”If players cannot join yet, solve reachability first.
The easiest path is Tunnel. HaruHost prepares the connection for you so the server can be reachable over the internet without you having to manually set up port forwarding and firewall rules first.
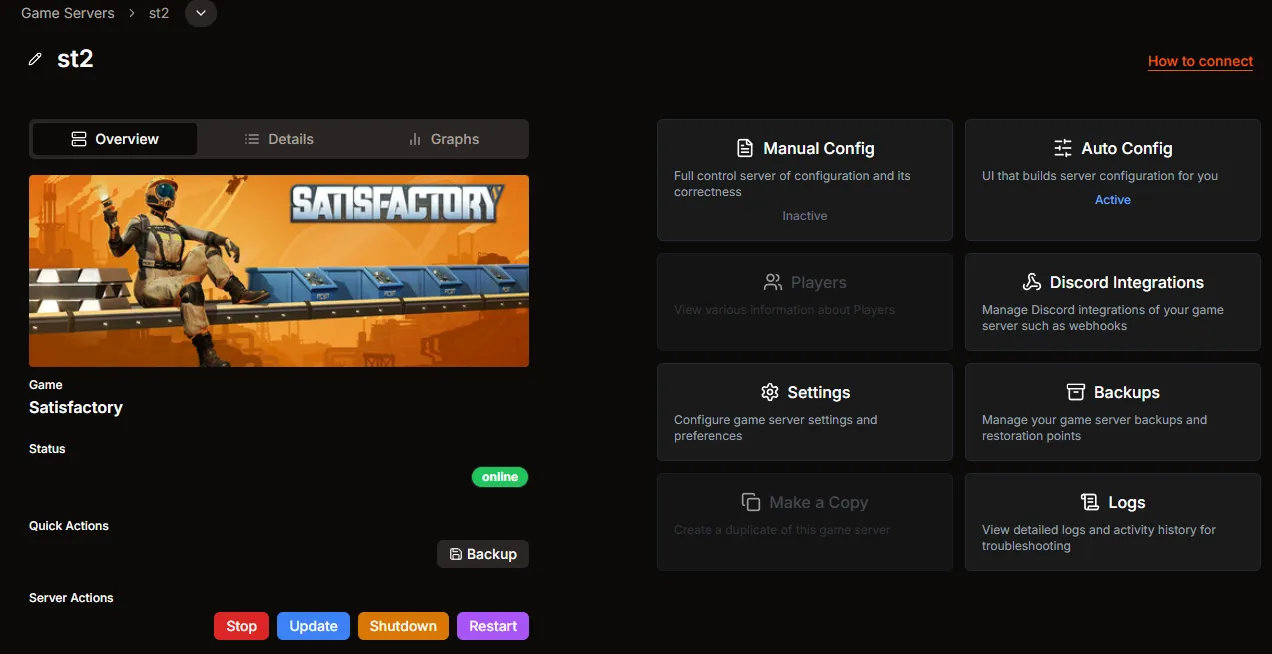
Step 1: Open your server and start the connection guide
Section titled “Step 1: Open your server and start the connection guide”Open your Satisfactory server page and use How to connect.
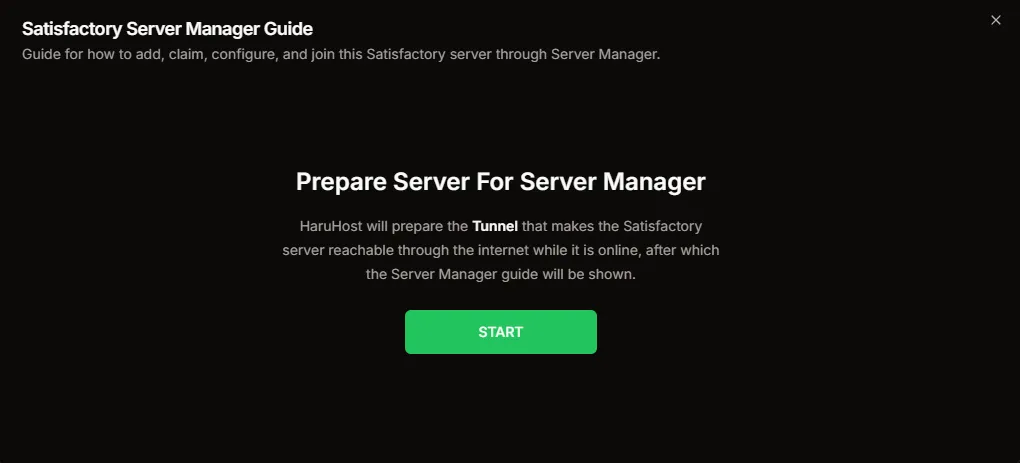
Step 2: Let HaruHost prepare the tunnel if the server still needs setup
Section titled “Step 2: Let HaruHost prepare the tunnel if the server still needs setup”If the server is online but the tunnel was not prepared on that run, HaruHost shows a preparation step inside the guide.
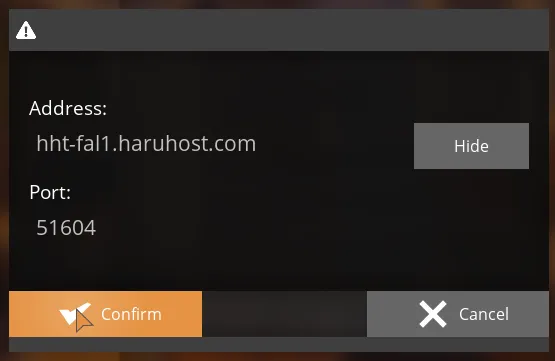
Step 3: Copy the Server Manager details from HaruHost
Section titled “Step 3: Copy the Server Manager details from HaruHost”Once the guide is ready, HaruHost shows the exact values to use:
Server Manager Address: the host to paste into SatisfactoryServer Manager Port: the port to paste into Satisfactory

If the address or port is not working, treat it as a reachability problem. First check that the server shows Online in HaruHost. If the server was started without the tunnel being properly prepared, run the How to connect flow again and let HaruHost prepare it.
Part 2: Add and claim the server in Satisfactory
Section titled “Part 2: Add and claim the server in Satisfactory”All first-time setup happens through Server Manager. This is the normal Satisfactory flow for a fresh dedicated server entry.
Step 1: Open Server Manager
Section titled “Step 1: Open Server Manager”Launch Satisfactory and choose Server Manager from the main menu.

Step 2: Add the server
Section titled “Step 2: Add the server”Inside Server Manager, press Add Server.

Step 3: Enter the address and port from HaruHost
Section titled “Step 3: Enter the address and port from HaruHost”Paste the Server Manager Address and Server Manager Port from HaruHost into Satisfactory, then confirm.
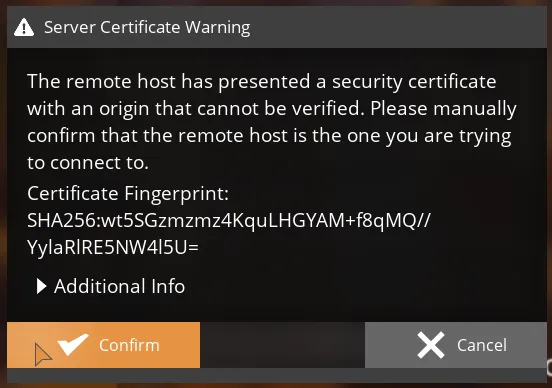
Step 4: Accept the certificate warning
Section titled “Step 4: Accept the certificate warning”On the first connection, Satisfactory shows a certificate warning for the remote host. Confirm it so the server entry can continue to the real setup flow.
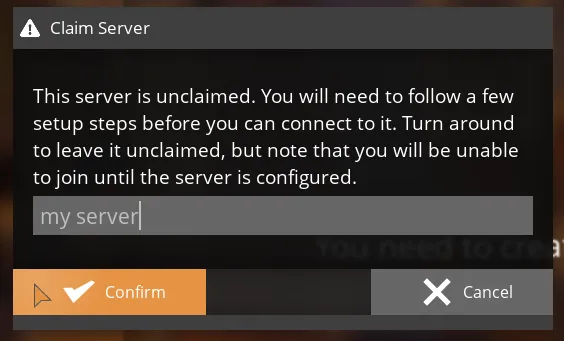
Step 5: Claim the server
Section titled “Step 5: Claim the server”If the server is unclaimed, Satisfactory asks you to claim it first. Give it a name so the manager entry can be configured.
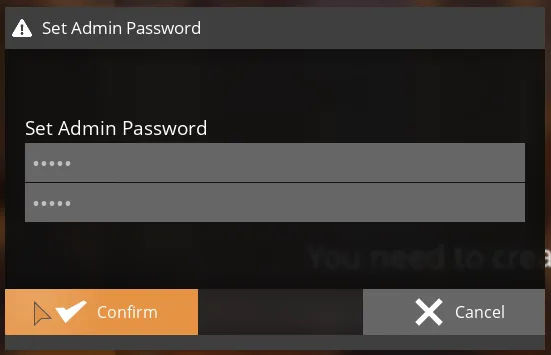
Step 6: Set the admin password
Section titled “Step 6: Set the admin password”Create the Satisfactory admin password you want to use for this server. This password is set inside the game during the first-time setup.
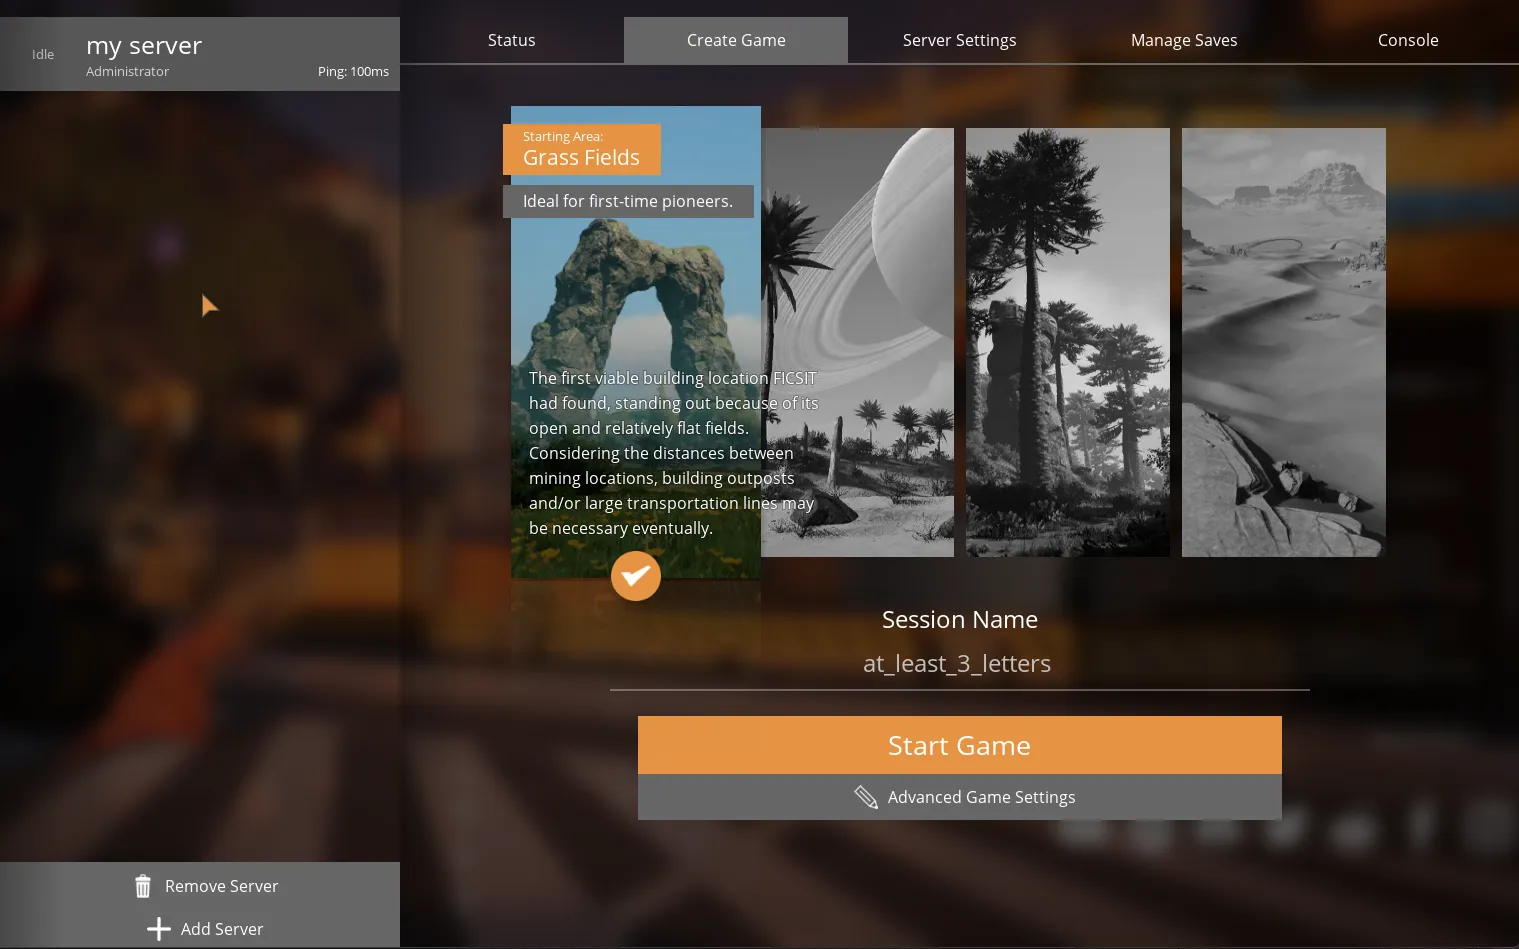
Step 7: Choose the starting area and session name
Section titled “Step 7: Choose the starting area and session name”In Create Game, pick the starting area and enter a session name. Grass Fields is a good first-time option for many servers.
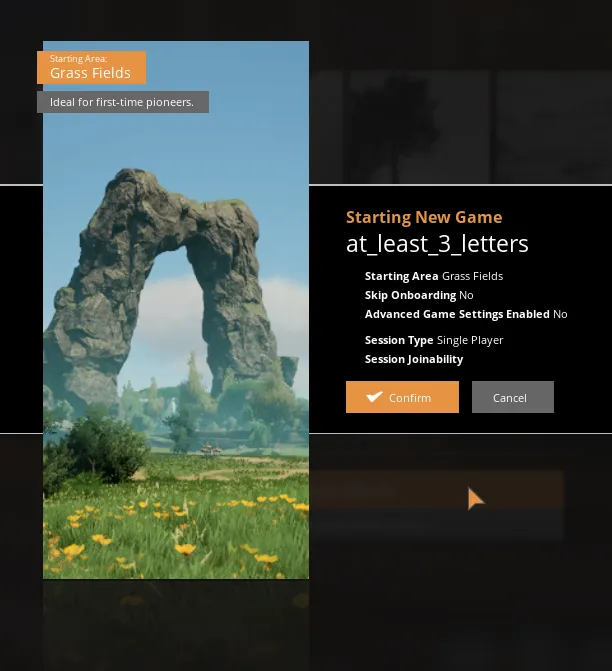
Step 8: Confirm world creation
Section titled “Step 8: Confirm world creation”Review the Starting New Game confirmation and confirm it so the dedicated server can create the world.
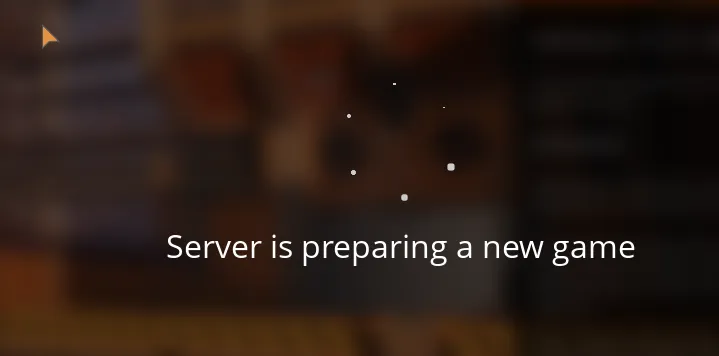
Step 9: Wait for the world to finish preparing
Section titled “Step 9: Wait for the world to finish preparing”Satisfactory creates the world and returns you to the server page once the initial setup is complete.
Part 3: Join from Server Manager
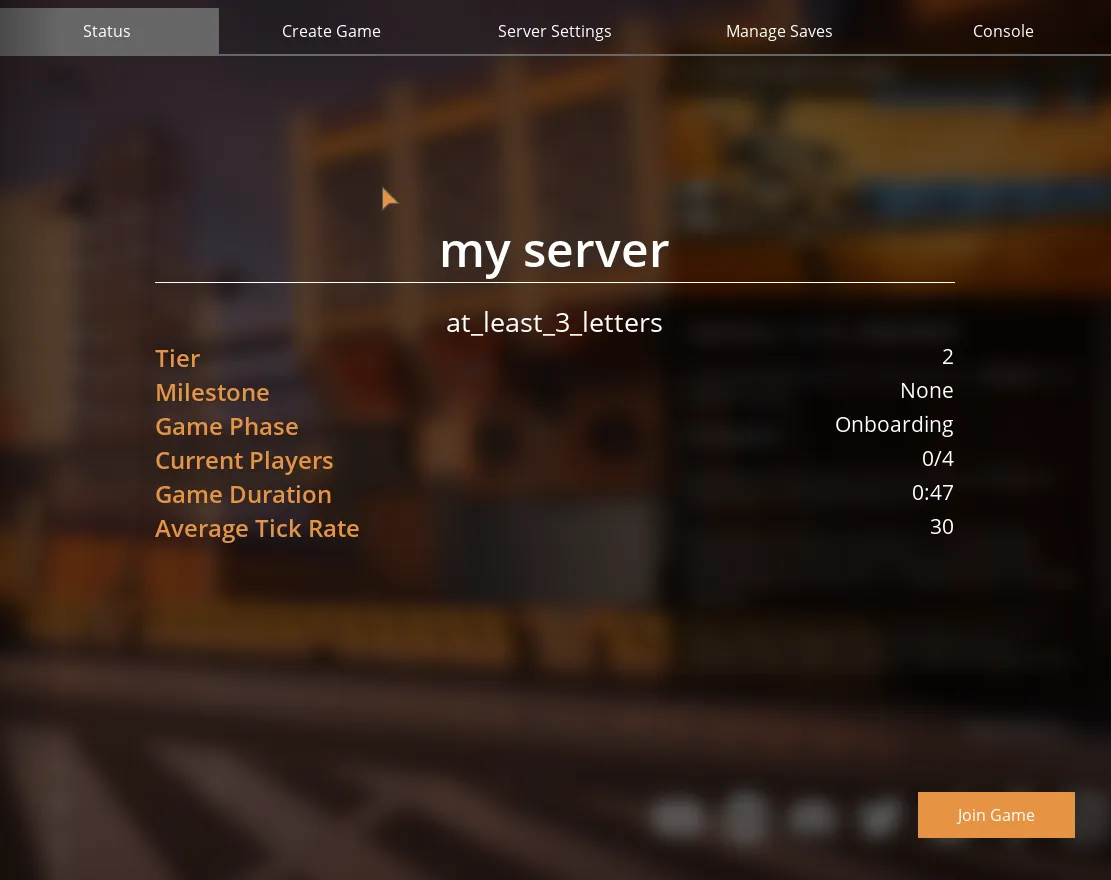
Section titled “Part 3: Join from Server Manager”After the first-time setup is complete, the server is available in Server Manager.
Step 1: Use Join Game from the server entry
Section titled “Step 1: Use Join Game from the server entry”Open the server entry and use Join Game.
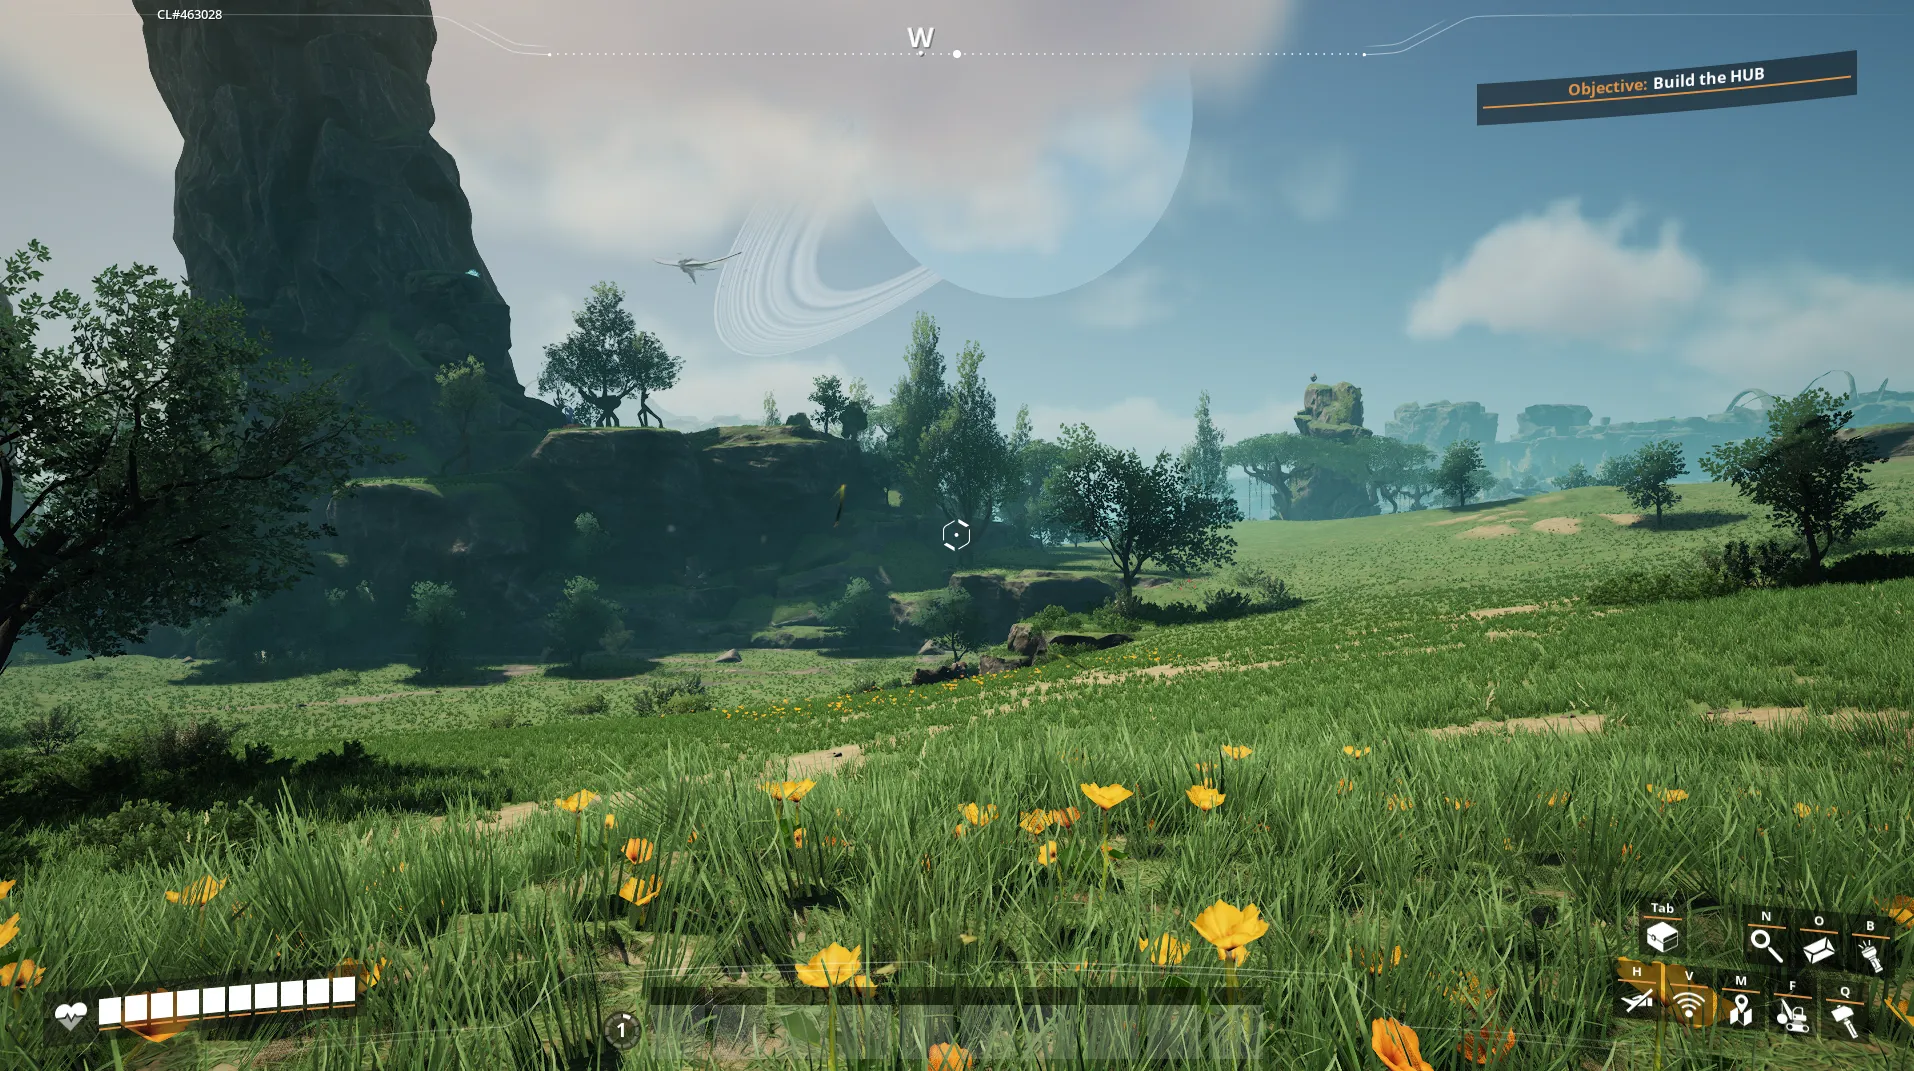
Step 2: Wait for the world to load
Section titled “Step 2: Wait for the world to load”Once Join Game succeeds, Satisfactory loads you into the world.
Troubleshooting
Section titled “Troubleshooting”The server is not reachable from the internet
Section titled “The server is not reachable from the internet”Use Tunnel as the first fix. That is the main HaruHost advantage here, because it gives you a reliable path without making you manually configure router port forwarding and firewall rules first.
Satisfactory shows a certificate warning
Section titled “Satisfactory shows a certificate warning”That is expected on the first add-server attempt. Confirm it so Satisfactory can continue to the claimed server flow for this exact host.
The server says it is unclaimed
Section titled “The server says it is unclaimed”That is expected for a new server entry. Claim it in Server Manager, set the admin password, and finish the create-game flow before trying to join.
I do not see Join Game yet
Section titled “I do not see Join Game yet”- Finish the
Create Gameflow first. - Wait for the
Server is preparing a new gamestep to complete. - Return to the server entry in
Server Managerand check again.
I forgot the admin password
Section titled “I forgot the admin password”The first admin password is created inside Satisfactory during the claim flow. If you are trying to reconnect later, use the password currently configured for that Satisfactory server rather than expecting HaruHost to set it during the landing-doc flow.
Summary
Section titled “Summary”The flow is simple:
- Open
How to connectin HaruHost. - Let HaruHost prepare
Tunnelif needed. - Copy the
Server Manager AddressandServer Manager Port. - Add the server in Satisfactory
Server Manager. - Claim it, set the admin password, create the world, and then use
Join Game.