Import Existing Server
Use this guide to import an existing Palworld dedicated server into HaruHost with the same flow shown in the real manager wizard.
Location
Section titled “Location”- Game Servers → Add → Palworld → Import Existing Server
Step 1: Open the Game Servers page
Section titled “Step 1: Open the Game Servers page”Start on the main Game Servers page in HaruHost.
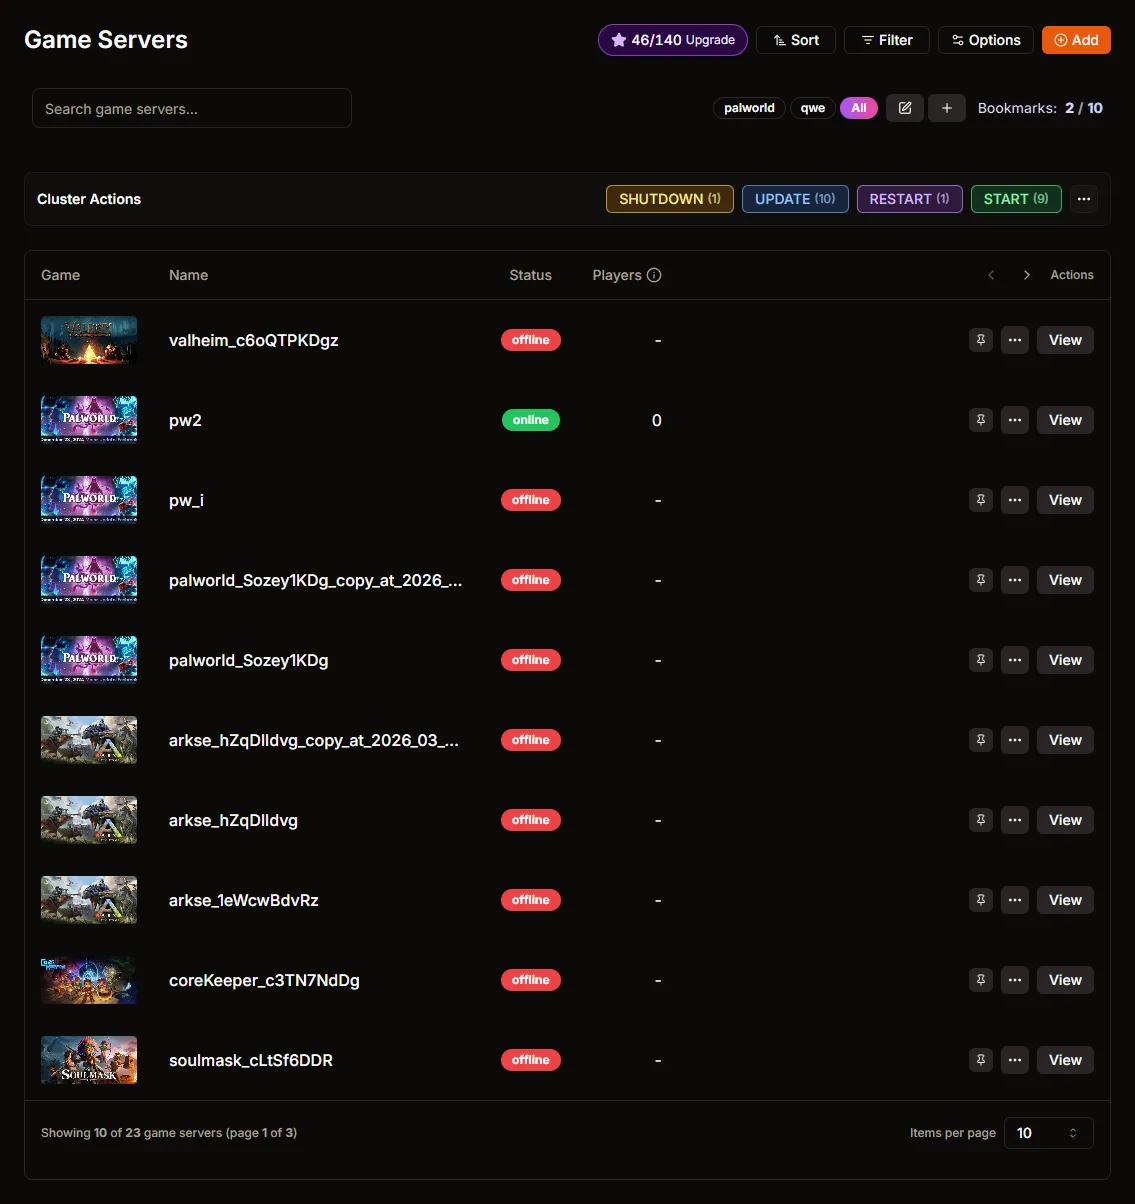
Step 2: Click Add
Section titled “Step 2: Click Add”Use the Add button in the top-right area to open the server creation wizard.

Step 3: Select Palworld, then enter a server name
Section titled “Step 3: Select Palworld, then enter a server name”On the Select Game step, choose Palworld.
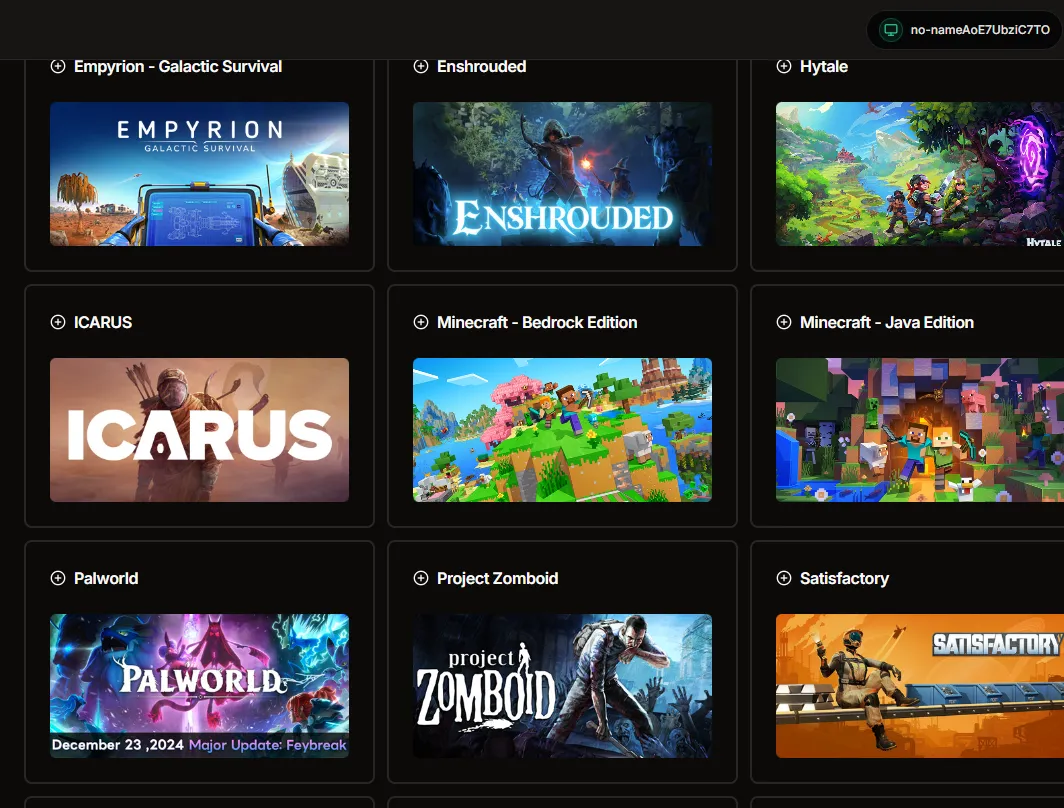
Then enter your server name and continue to Create or Import.
Step 4: Choose Import Existing Server
Section titled “Step 4: Choose Import Existing Server”On the Create or Import step, select Import Existing Server.

Palworld currently goes straight to Import Source after this step in the live flow.
Step 5: Review the expected save path
Section titled “Step 5: Review the expected save path”The Import Source step explains what HaruHost is looking for before you select the folder.
Tip: HaruHost expects the selected server folder to contain actual save data under SERVER_DIR\Pal\Saved\SaveGames\0\[SERVER_ID] with at least one .sav file.
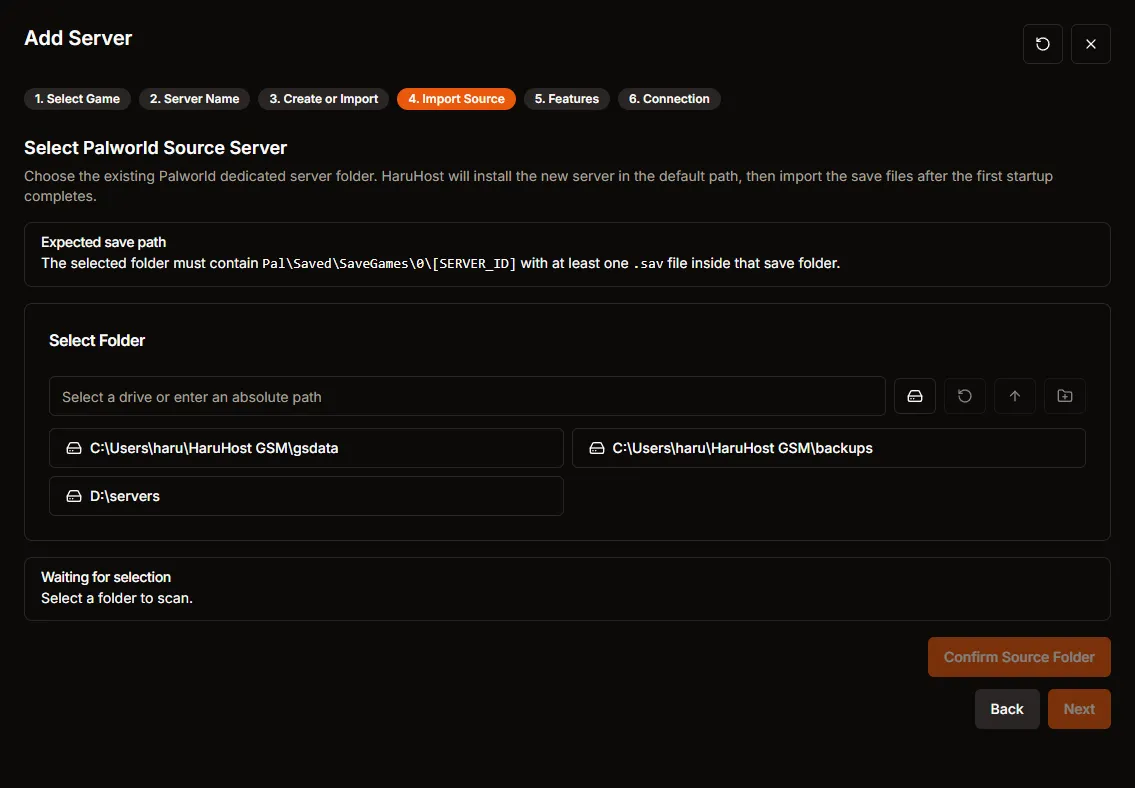
Step 6: Browse to your Palworld source folder
Section titled “Step 6: Browse to your Palworld source folder”Open the real source path through the picker. In this walkthrough, the path is D:\servers\pw_1.
Step 7: Wait for Save files detected
Section titled “Step 7: Wait for Save files detected”When the folder structure is valid, HaruHost changes the validation state to Save files detected and enables Confirm Source Folder.
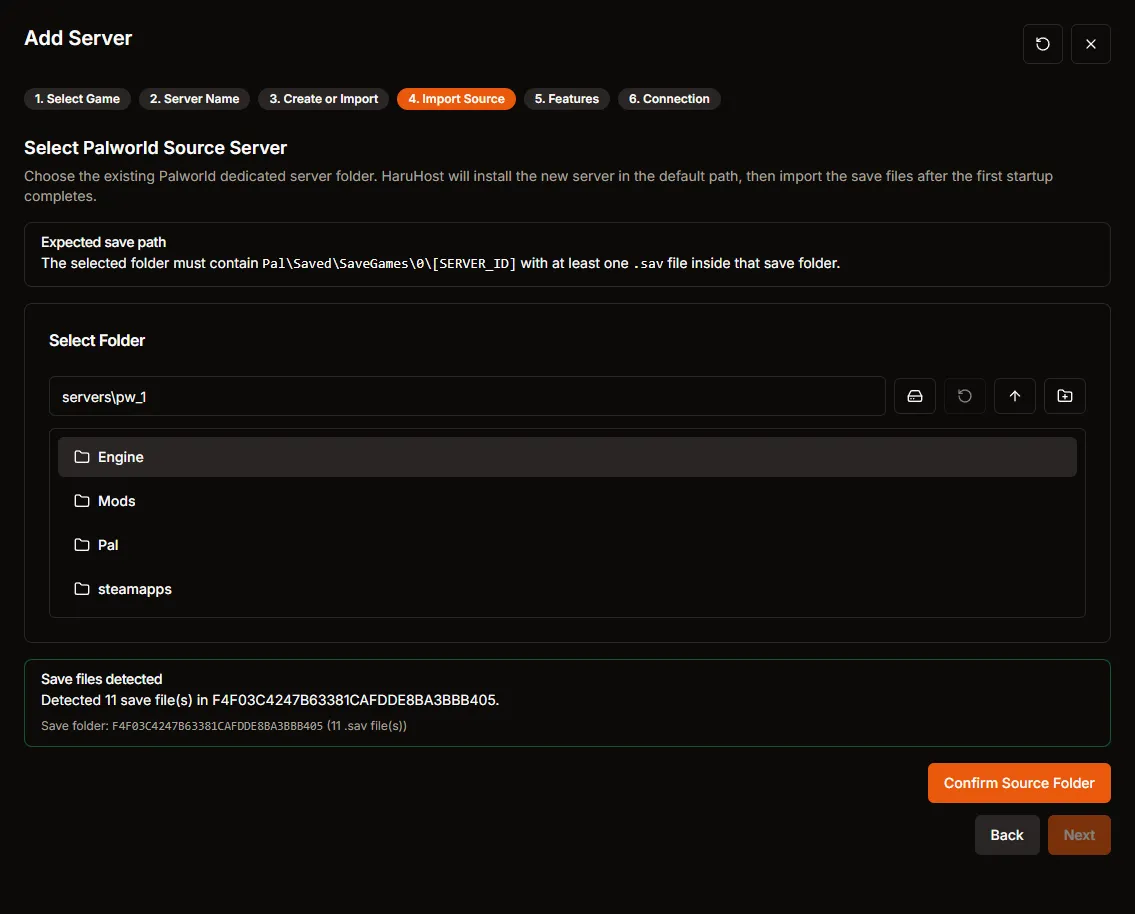
Your detected save folder name will usually differ from the example shown in this screenshot.
Step 8: Confirm the source folder
Section titled “Step 8: Confirm the source folder”Click Confirm Source Folder, then accept the confirmation dialog.
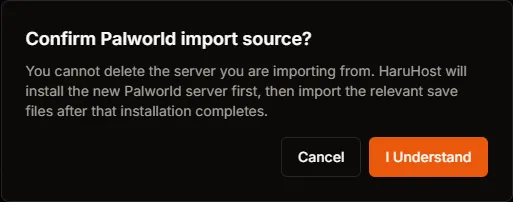
This confirms that HaruHost should use the selected folder as the import source.
Step 9: Verify the source is confirmed
Section titled “Step 9: Verify the source is confirmed”After confirmation, the wizard shows Source folder confirmed for import. and enables Next.
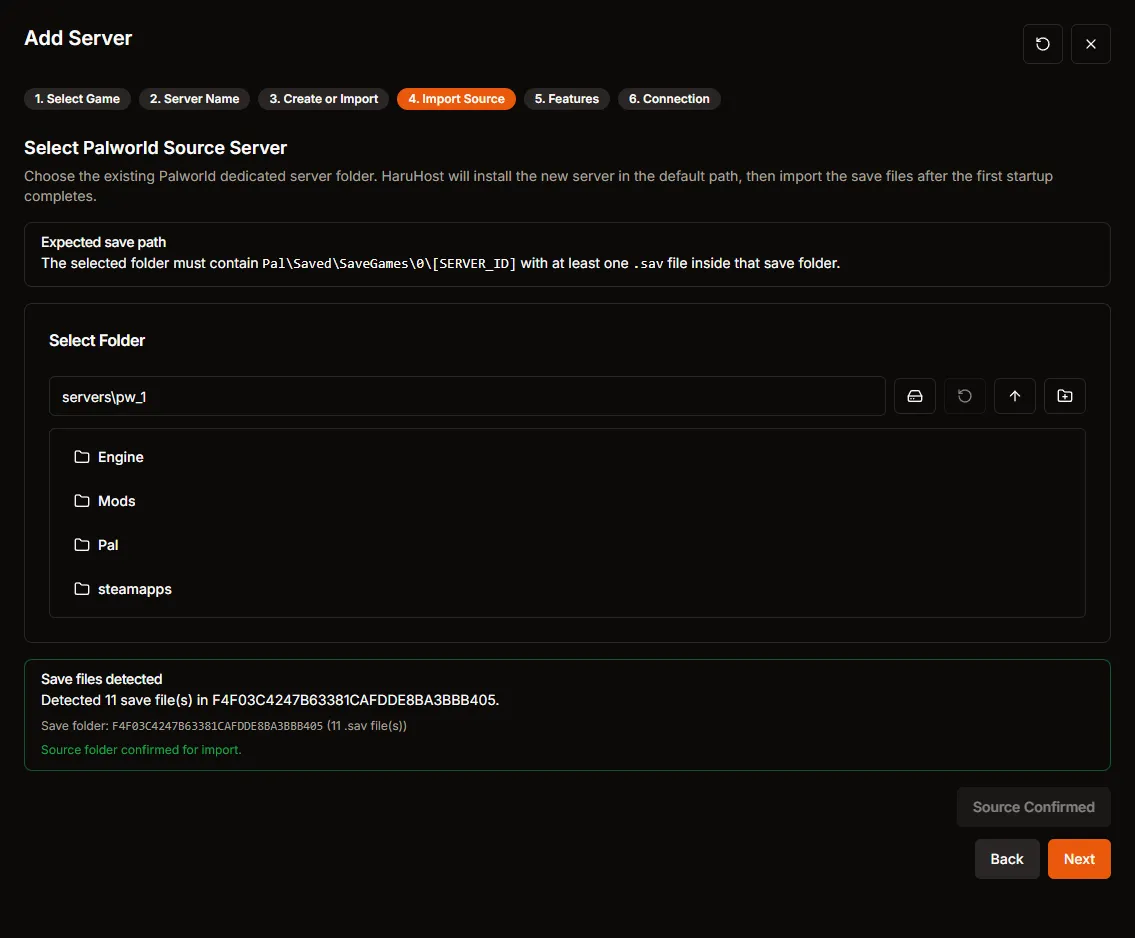
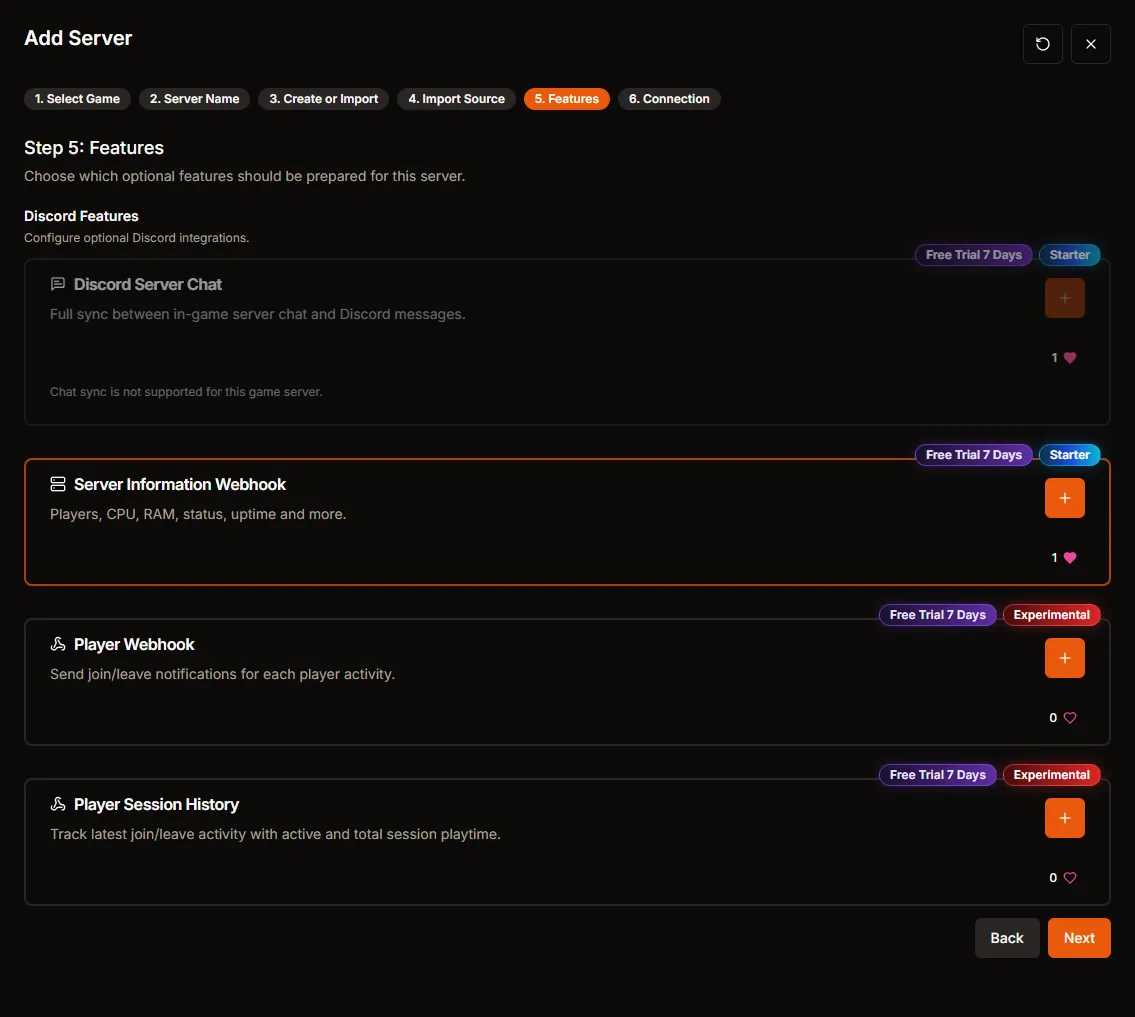
Step 10: Continue through Features
Section titled “Step 10: Continue through Features”Once the source folder is confirmed, the wizard continues normally into Features.
Step 11: Review Connection and stop before Create Server
Section titled “Step 11: Review Connection and stop before Create Server”The last step in this walkthrough is Connection. Review your connection mode, then stop here if you are following this guide exactly.
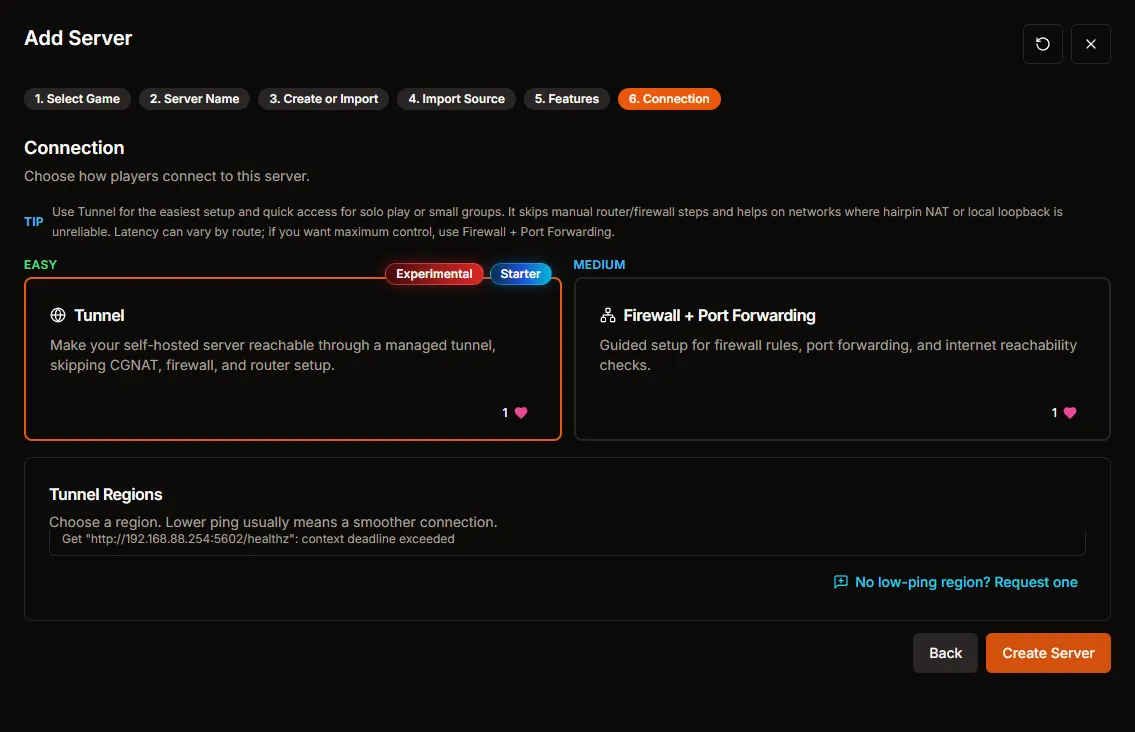
This is the point right before the final server creation action.
Troubleshooting
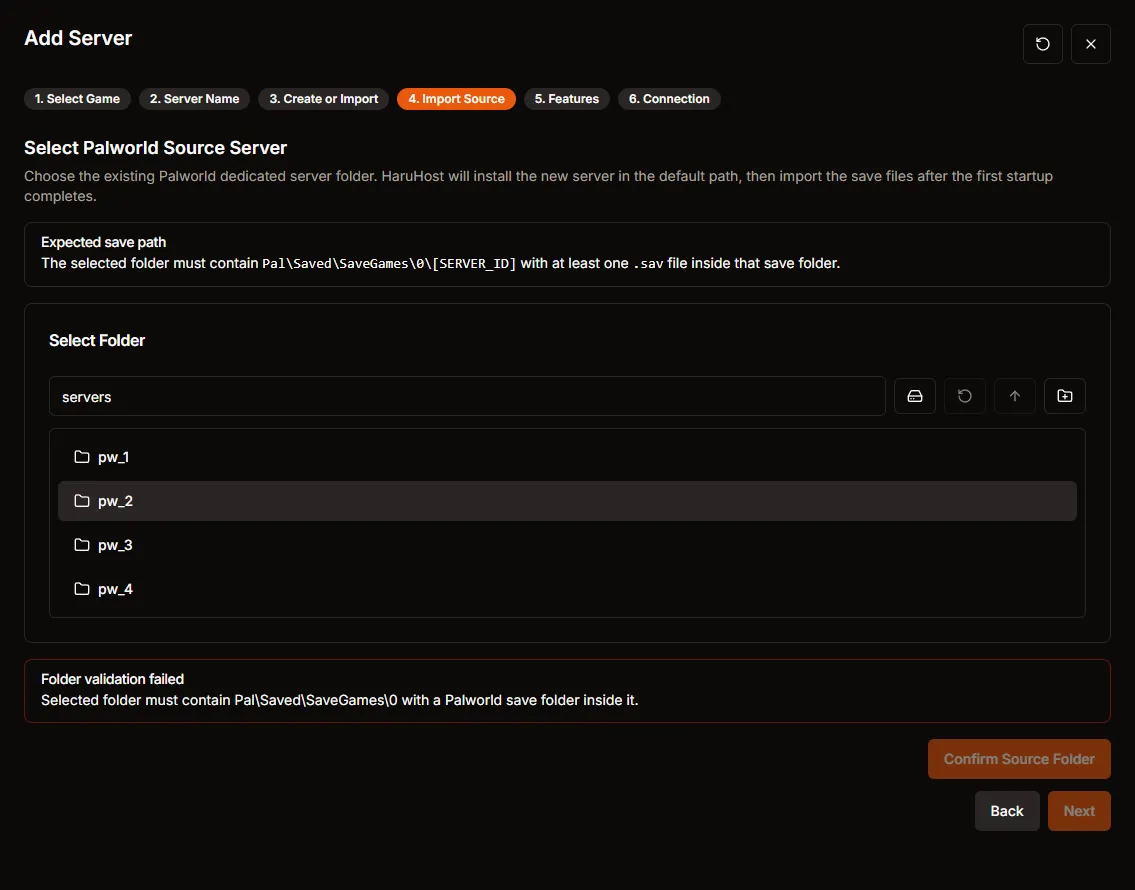
Section titled “Troubleshooting”I get Folder validation failed
Section titled “I get Folder validation failed”If the wizard shows Folder validation failed, the selected folder does not currently satisfy the required structure.
Check that the source contains:
Pal\Saved\SaveGames\0- a detected
[SERVER_ID]folder inside it - at least one
.savfile inside that save folder
The source folder is visible but still does not validate
Section titled “The source folder is visible but still does not validate”That usually means the folder structure is wrong, not that the picker is broken. Recheck the Palworld server root you selected.
The path does not appear in the remote manager
Section titled “The path does not appear in the remote manager”If the remote manager cannot see the drive or path at all, treat that as an access or permission issue first. Fix the manager’s allowed path access, then reopen the picker and browse again.
Next is still disabled
Section titled “Next is still disabled”Next stays disabled until both of these are true:
- HaruHost detects valid save files
- you press
Confirm Source Folderand accept the confirmation dialog