How to Connect
Use this guide when you want to connect to your own Minecraft Java server. Follow the same flow HaruHost shows in How to connect: make sure the server is reachable first, confirm the Minecraft Java client version matches the server version exactly, then finish the join flow inside Minecraft Java.
Location
Section titled “Location”- Game Servers →
Your Game Server Name→How to connect
Part 1: Make sure the server is reachable
Section titled “Part 1: Make sure the server is reachable”If players cannot join yet, solve reachability first.
The easiest path is Tunnel. HaruHost prepares the connection for you so the server can be reachable over the internet without you having to manually set up port forwarding and firewall rules first.
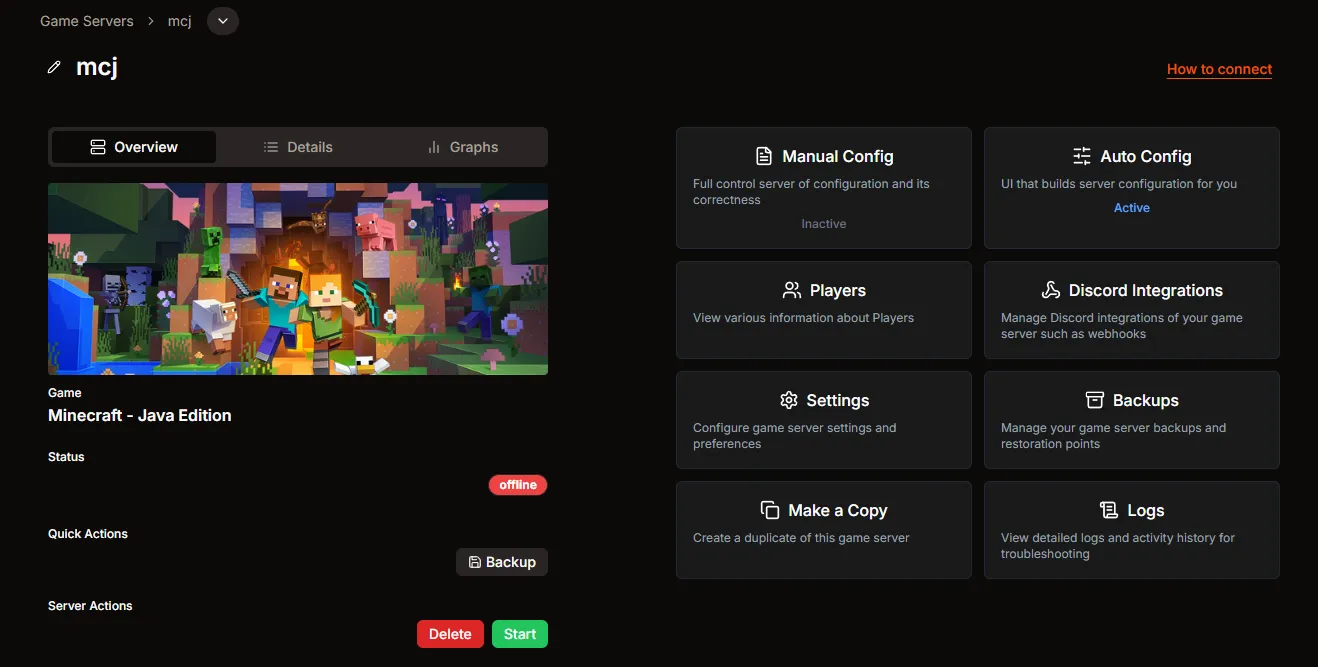
Step 1: Open your server and start the connection guide
Section titled “Step 1: Open your server and start the connection guide”Open your Minecraft Java server page and use How to connect.
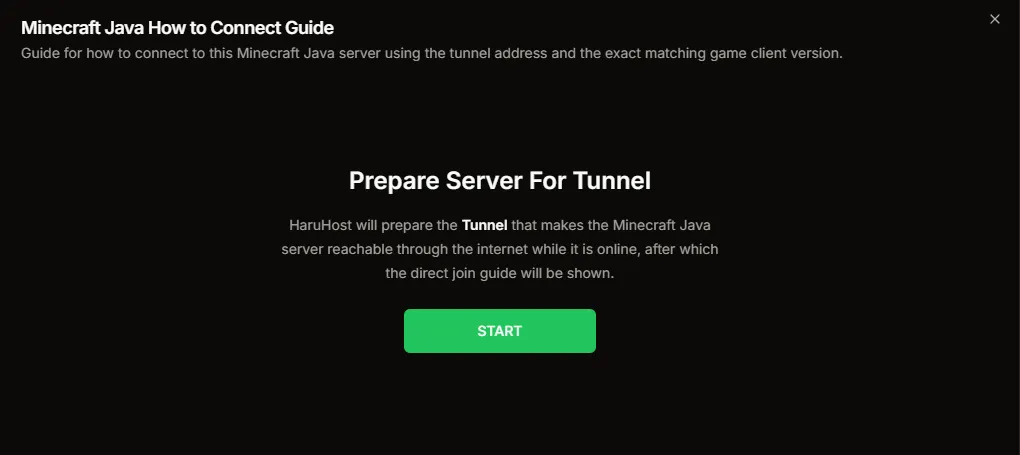
Step 2: Let HaruHost prepare the server for Tunnel
Section titled “Step 2: Let HaruHost prepare the server for Tunnel”If the server still needs connection prep, HaruHost shows a preparation step inside the guide. This is where HaruHost enables the tunnel path for the current run.
Step 3: Copy the Java join values from HaruHost
Section titled “Step 3: Copy the Java join values from HaruHost”Once the guide is ready, HaruHost shows the exact values to use:
Server Address: the value to paste into Minecraft JavaExact Server Version: the exact Minecraft Java client version players need

If the server address is not working, treat that as a reachability problem. First check that the server shows Online in HaruHost. If the server was started without the tunnel being properly prepared, run the How to connect flow again and let HaruHost restart the server if needed.
Part 2: Make sure the Minecraft Java client version matches exactly
Section titled “Part 2: Make sure the Minecraft Java client version matches exactly”Minecraft Java version matching is mandatory. The server address can be correct and the connection can still fail if the client is on the wrong Java release or patch level.
Step 1: Check the exact server version in HaruHost
Section titled “Step 1: Check the exact server version in HaruHost”The Java guide shows the version rule directly and warns that the client version must match the server version exactly before you join.

Step 2: Confirm that same version in Minecraft Java
Section titled “Step 2: Confirm that same version in Minecraft Java”On the Minecraft Java main menu, confirm the version shown in the lower left corner matches the HaruHost server version exactly before you continue to Multiplayer.
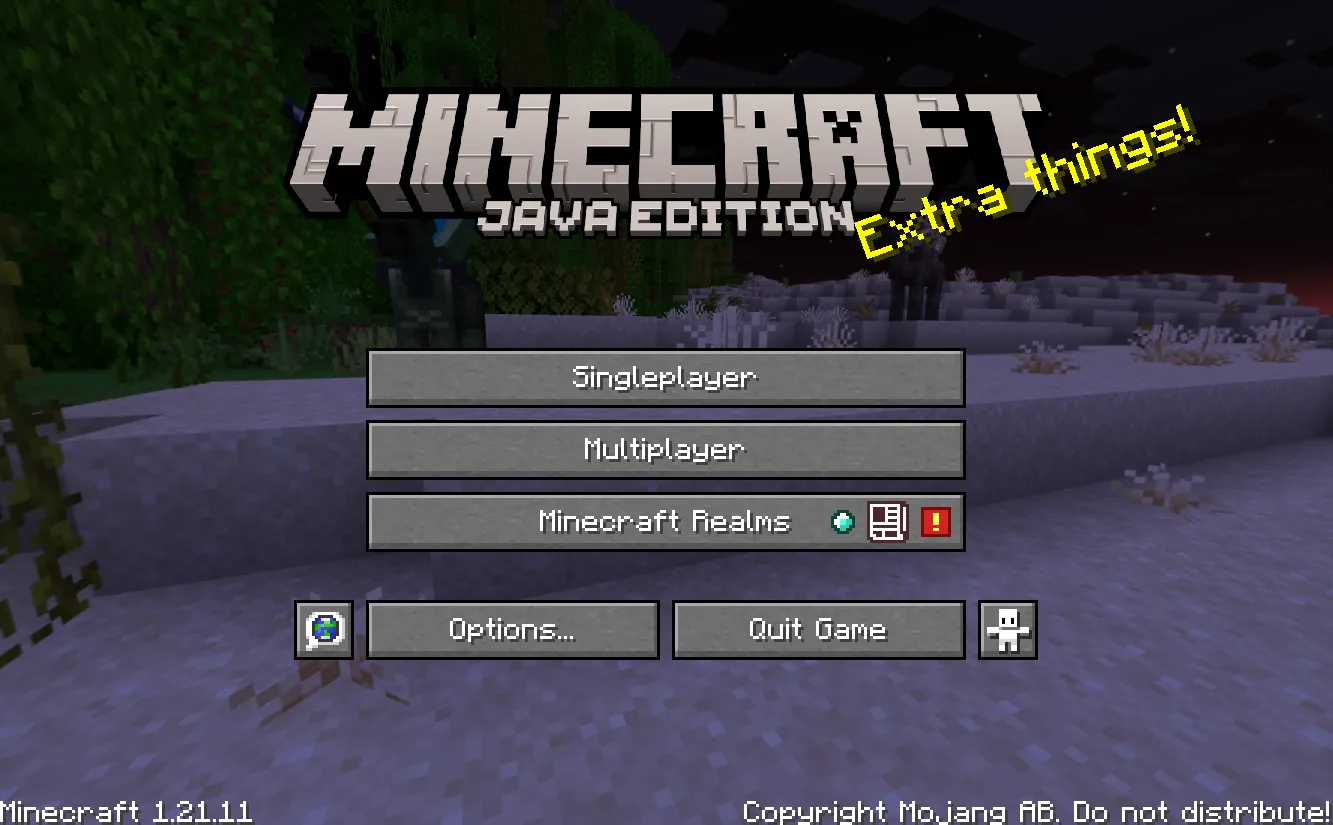
If HaruHost shows 1.21.1 but the Minecraft Java client shows a different version or patch level, do not continue until they match.
Part 3: Join the server
Section titled “Part 3: Join the server”Minecraft Java uses the Multiplayer flow, then a saved Add Server entry with a single Server Address field.
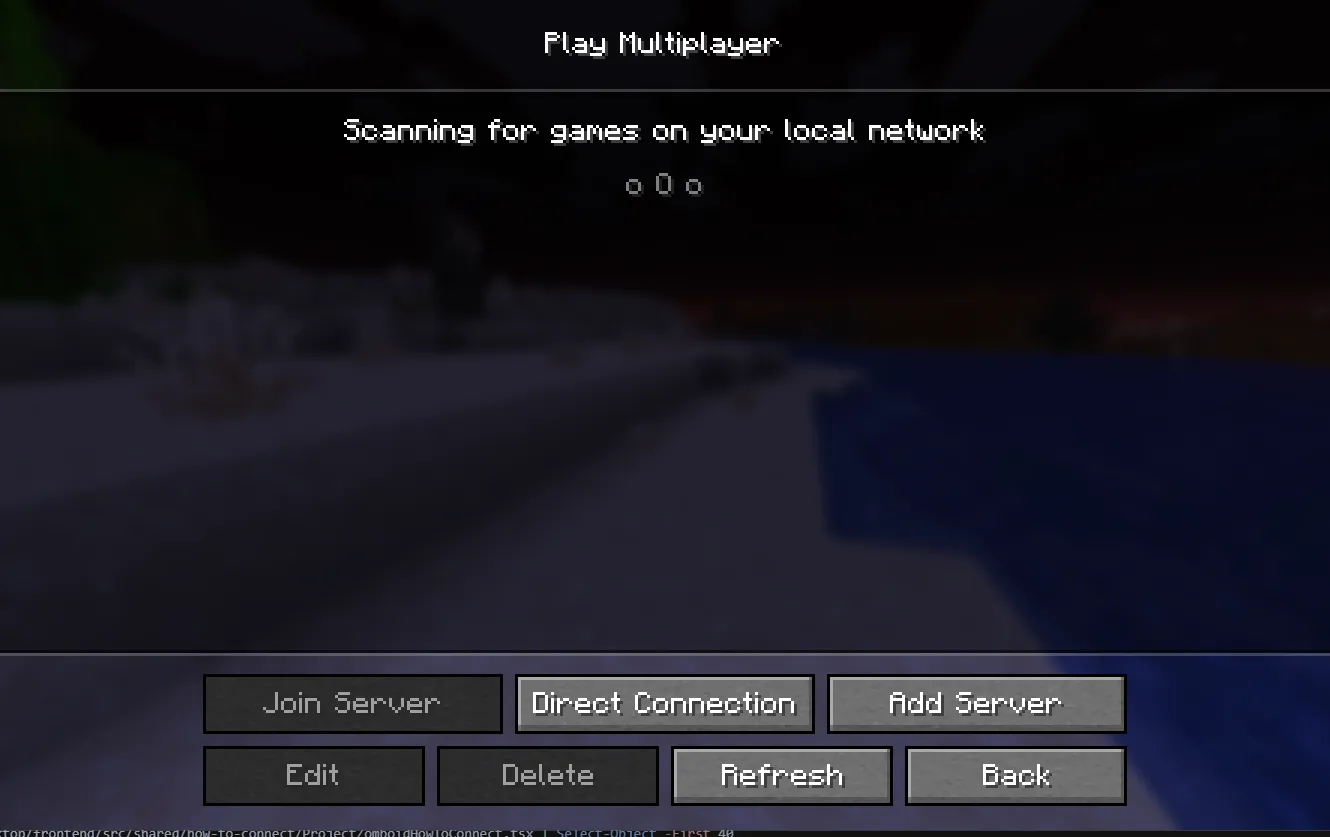
Step 1: Open Multiplayer
Section titled “Step 1: Open Multiplayer”From the Minecraft Java main menu, use Multiplayer.
Step 2: Choose Add Server
Section titled “Step 2: Choose Add Server”On the Play Multiplayer screen, use Add Server.
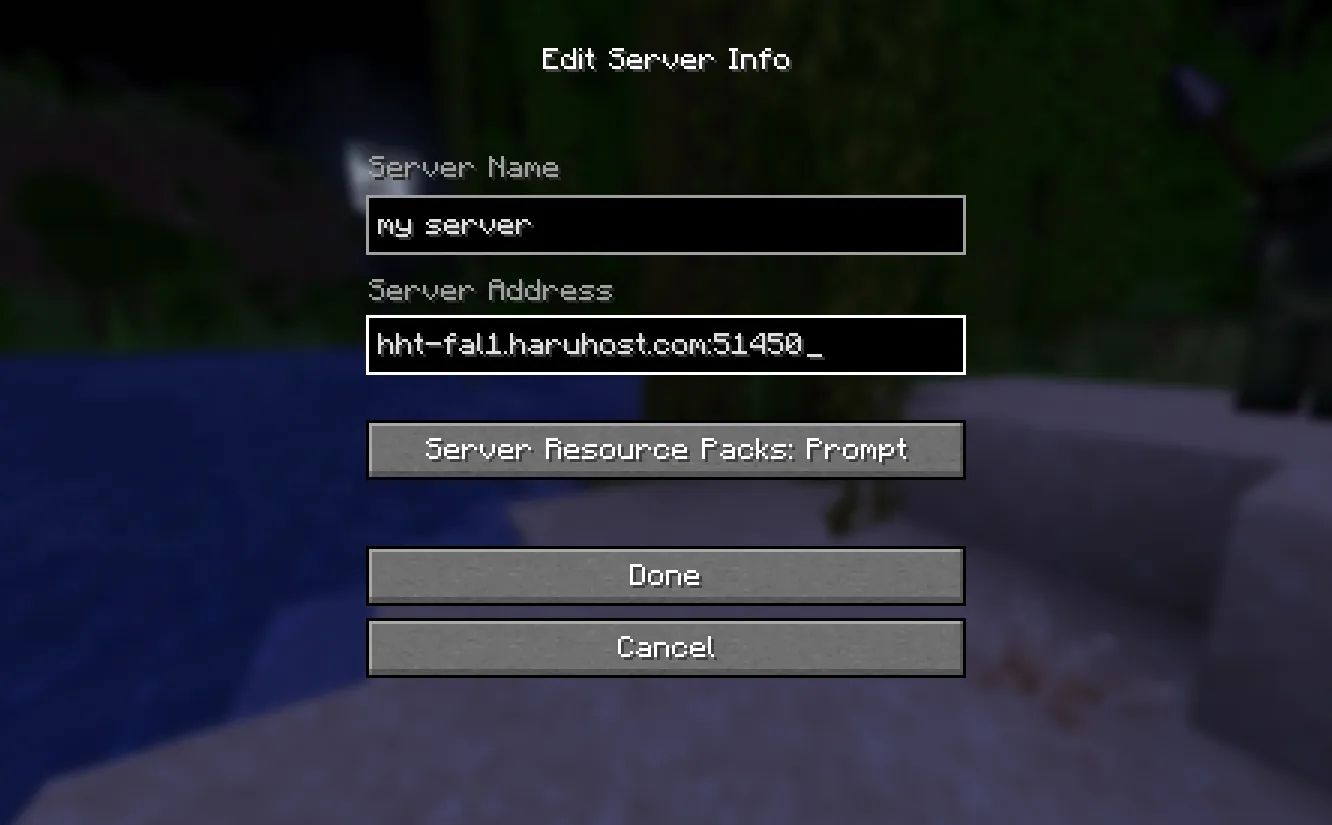
Step 3: Enter the server name and address
Section titled “Step 3: Enter the server name and address”Paste the HaruHost Server Address exactly as shown. You can use any saved server name you want.
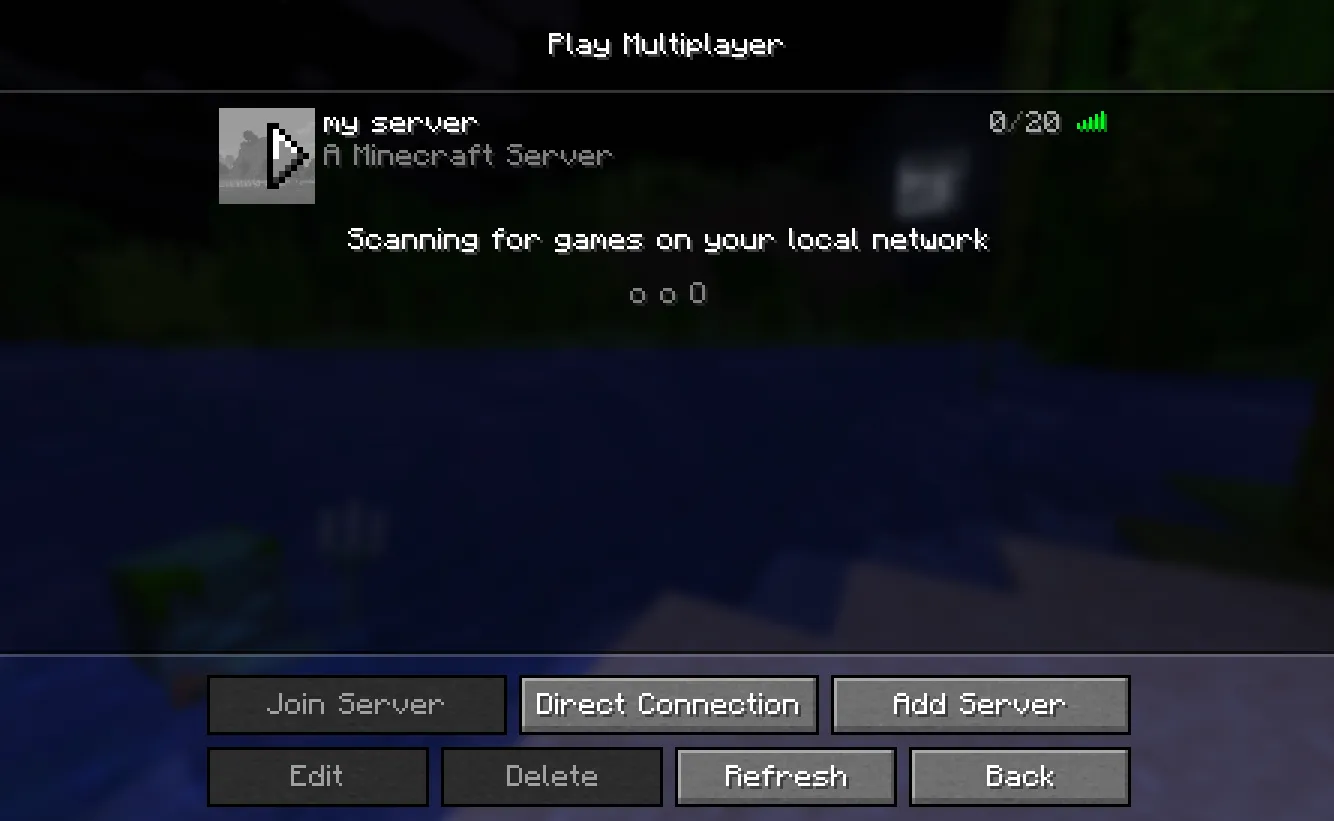
Step 4: Select the saved server from the list
Section titled “Step 4: Select the saved server from the list”After saving, the server appears in Multiplayer. Select it and confirm the entry is ready before joining.
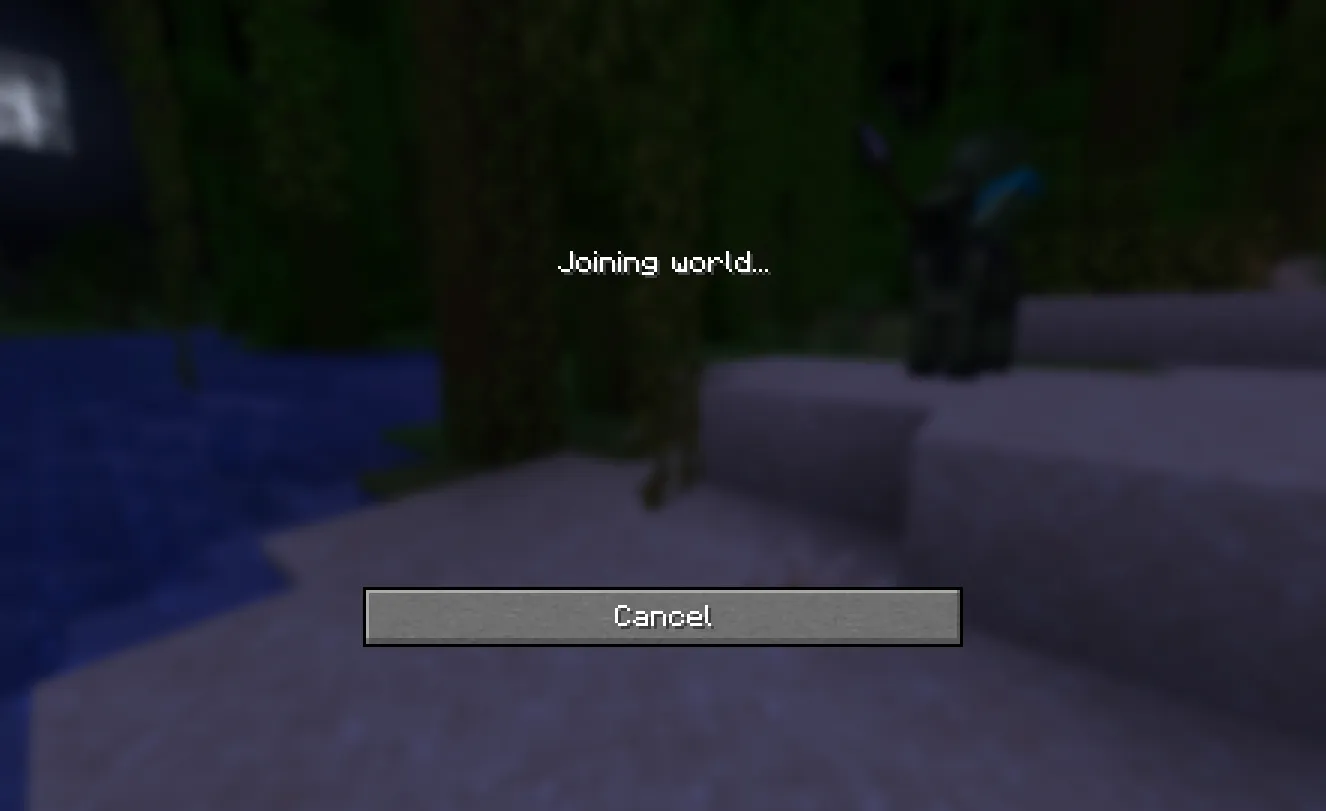
Step 5: Wait for Joining world
Section titled “Step 5: Wait for Joining world”Once you join the saved server entry, Minecraft Java moves into the Joining world screen while it connects.
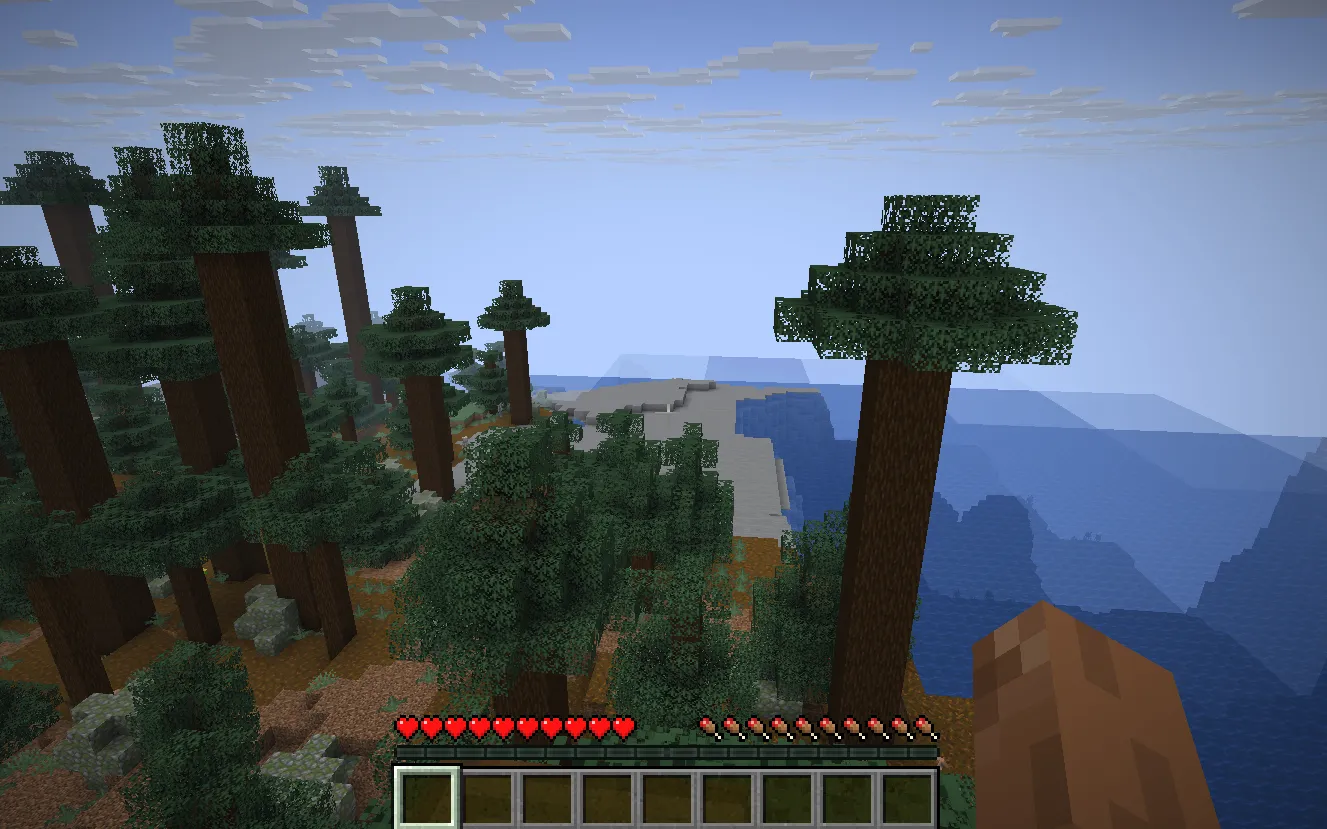
Step 6: Wait for the world to load
Section titled “Step 6: Wait for the world to load”Once the exact version matches and the address is correct, Minecraft Java finishes connecting and loads you into the world.
Troubleshooting
Section titled “Troubleshooting”The server is not reachable from the internet
Section titled “The server is not reachable from the internet”Use Tunnel as the first fix. That is the main HaruHost advantage here, because it gives you a reliable path without making you manually configure router port forwarding and firewall rules first.
Minecraft Java cannot connect even though the server address looks correct
Section titled “Minecraft Java cannot connect even though the server address looks correct”Check the exact version match first.
- Compare the exact HaruHost server version against the exact Minecraft Java client version.
- If those values do not match exactly, fix that first before testing the network again.
Minecraft Java still cannot connect after the versions match
Section titled “Minecraft Java still cannot connect after the versions match”- Check that the server status shows
Onlinein HaruHost. - Re-copy the exact
Server Address. - If you enabled or changed tunnel-related settings while the server was already running, let HaruHost restart the server from the
How to connectflow. - If you use manual firewall and port forwarding instead of the tunnel path, re-check those rules separately.
Summary
Section titled “Summary”The flow is simple:
- Make sure the server is reachable.
- Use HaruHost
Tunnelfirst if reachability is the problem. - Match the Minecraft Java client version to the exact HaruHost server version.
- Paste the exact
Server Addressinto Minecraft Java.