How to Connect
Use this guide when you want to connect to your own 7 Days To Die server. Follow the same flow HaruHost shows in How to connect: make sure the server is reachable first, copy the server address from HaruHost, then finish the direct join flow inside the game.
Location
Section titled “Location”- Game Servers →
Your Game Server Name→How to connect
Part 1: Make sure the server is reachable
Section titled “Part 1: Make sure the server is reachable”If players cannot join yet, solve reachability first.
The easiest path is Tunnel. HaruHost prepares the connection for you so the server can be reachable over the internet without you having to manually set up port forwarding and firewall rules first.
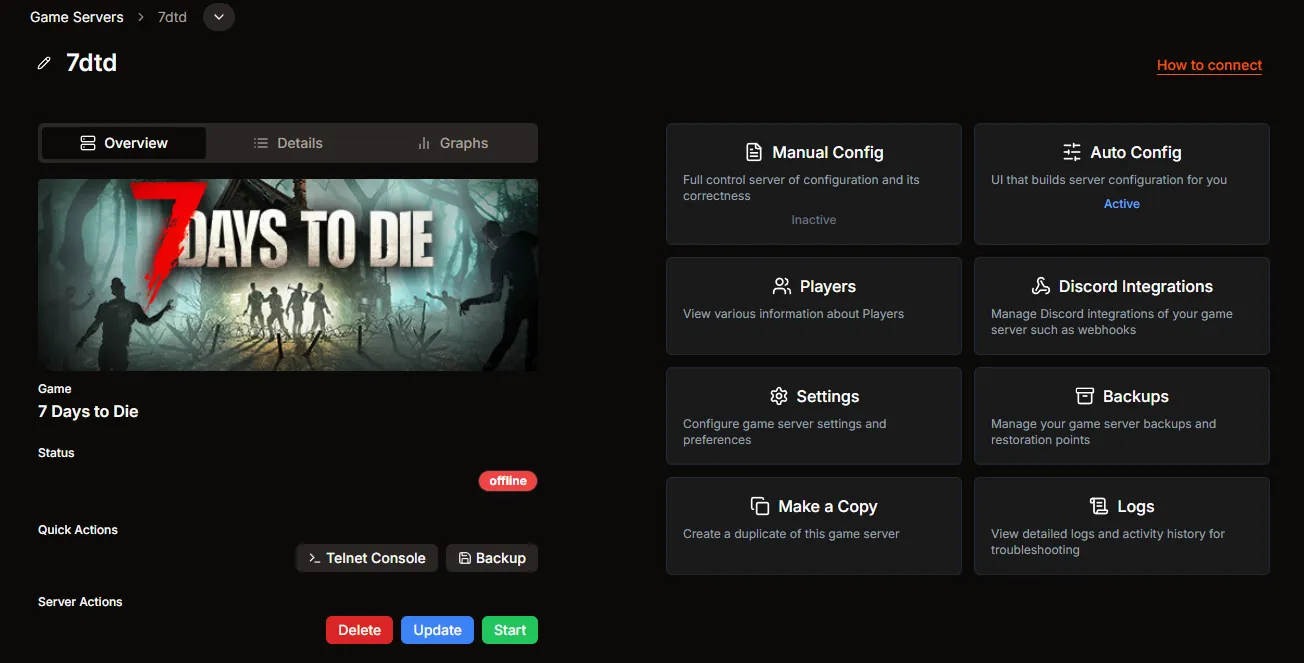
Step 1: Open your server and start the connection guide
Section titled “Step 1: Open your server and start the connection guide”Open your 7 Days To Die server page and use How to connect.
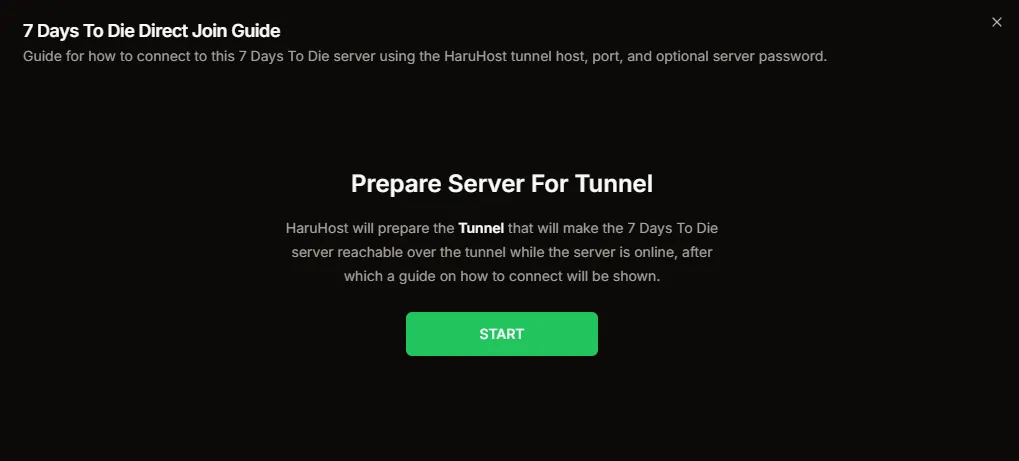
Step 2: Let HaruHost prepare the server for Tunnel
Section titled “Step 2: Let HaruHost prepare the server for Tunnel”If the server is offline, or if the current run still needs Tunnel and Auto Config prepared, HaruHost shows the Prepare Server For Tunnel step inside the guide.
Step 3: Copy the server address from HaruHost
Section titled “Step 3: Copy the server address from HaruHost”Once the guide is ready, HaruHost shows the exact Server Address to use. Copy the full value exactly as shown.
If HaruHost also shows a Server Password, keep it ready for the later password prompt. If no password card is shown, you do not need to enter one in the game.

If the server address is not working, treat it as a reachability problem. First check that the server shows Online in HaruHost. If the tunnel was enabled after the server was already running, use the How to connect flow again so HaruHost can restart the server with the tunnel prepared correctly.
Part 2: Join the server
Section titled “Part 2: Join the server”7 Days To Die uses a direct connection dialog where the HaruHost full server address can be pasted into the IP field.
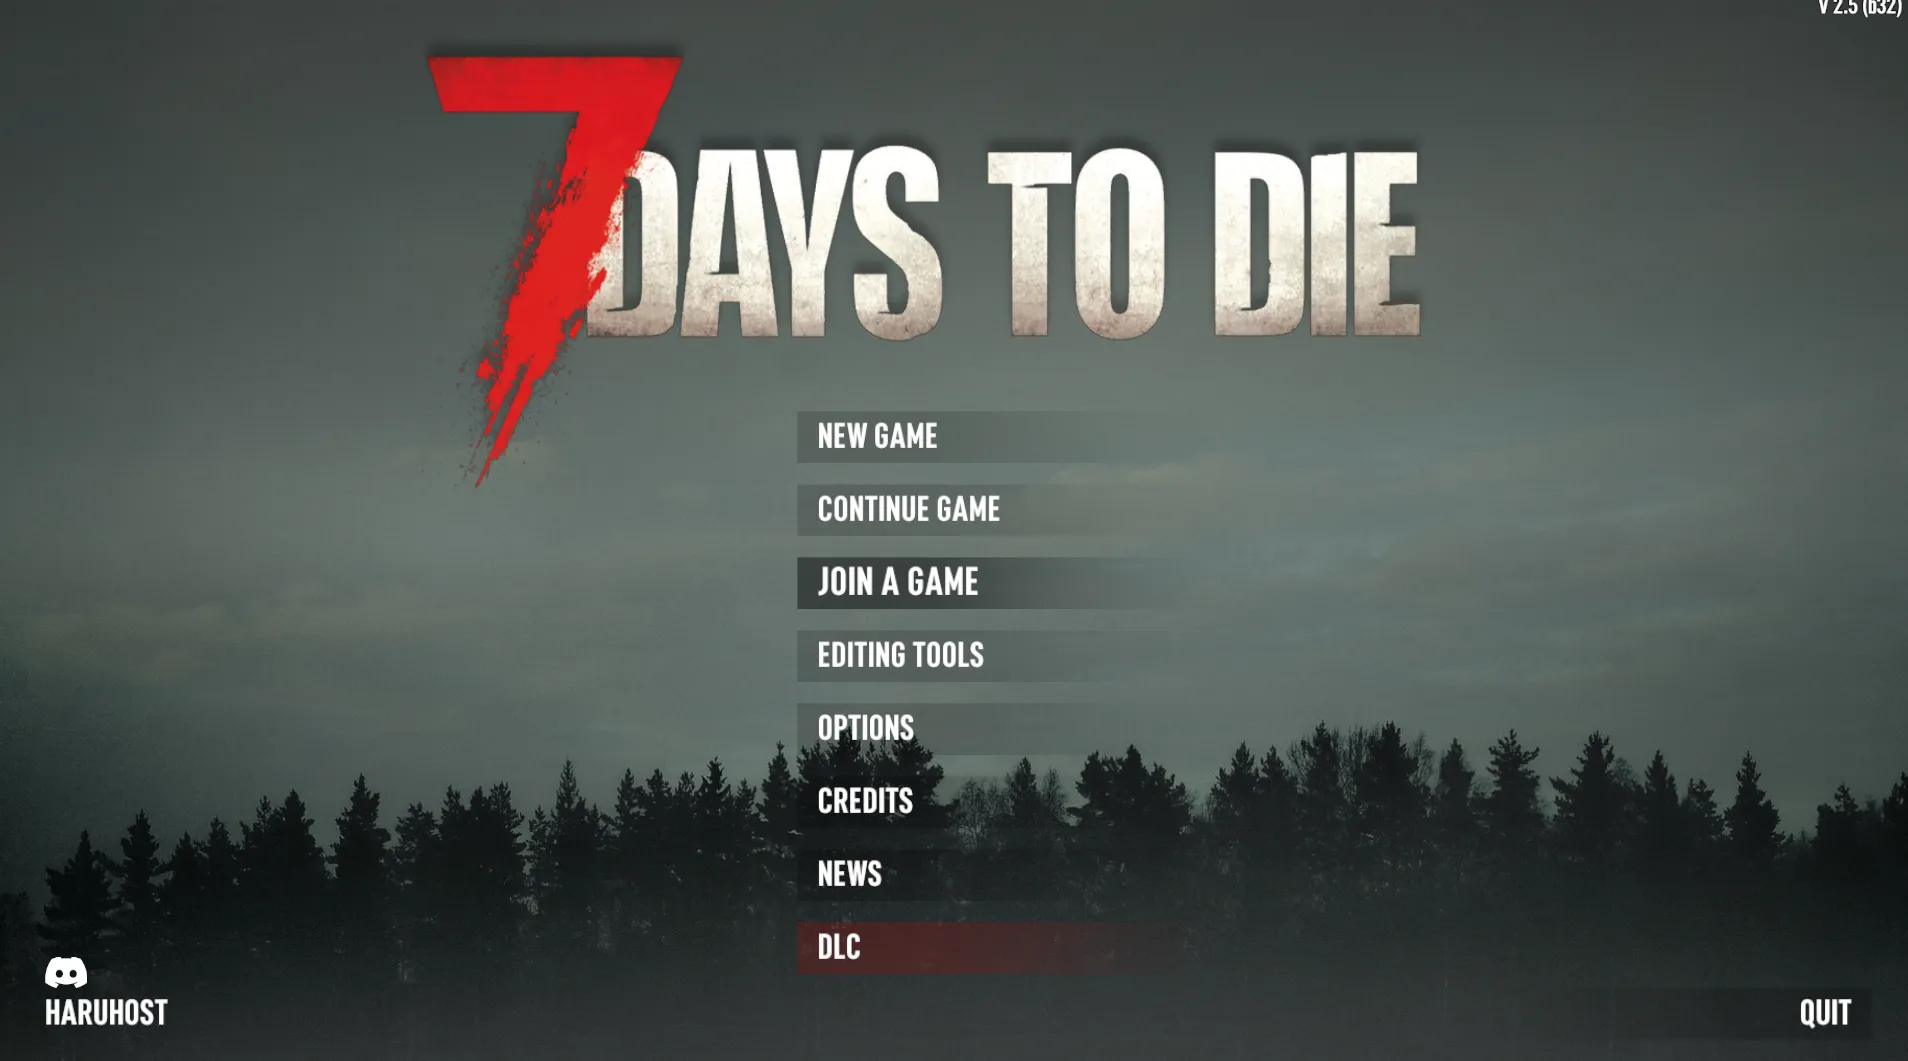
Step 1: Open Join A Game
Section titled “Step 1: Open Join A Game”Launch 7 Days To Die and choose Join A Game from the main menu.

Step 2: Open Connect To IP
Section titled “Step 2: Open Connect To IP”In the server browser, use Connect To IP instead of searching public listings.

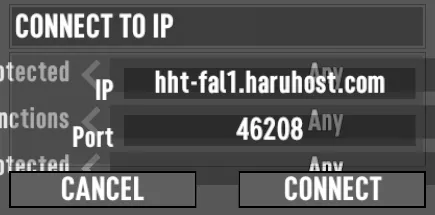
Step 3: Paste the HaruHost server address
Section titled “Step 3: Paste the HaruHost server address”Copy the Server Address from HaruHost and paste the full value into the IP field. 7 Days To Die inserts the port correctly for you, so use the address exactly as HaruHost shows it.
Step 4: Press Connect
Section titled “Step 4: Press Connect”After the address is in place, press Connect.
If the server uses a password, enter it when 7 Days To Die asks for it. If HaruHost showed no password card, leave that step empty.

Step 5: Choose where to spawn
Section titled “Step 5: Choose where to spawn”After the connection succeeds, 7 Days To Die asks where to spawn. Pick the option that matches your current character state.

Step 6: Use Spawn in random location if needed
Section titled “Step 6: Use Spawn in random location if needed”If there is no valid friend spawn available, choose Spawn in random location to finish joining the world.

Step 7: Wait for the world to load
Section titled “Step 7: Wait for the world to load”After spawning finishes, you should appear in the server world and can begin playing.
Troubleshooting
Section titled “Troubleshooting”The server is not reachable from the internet
Section titled “The server is not reachable from the internet”Use Tunnel as the first fix. That is the main HaruHost advantage here, because it gives you a reliable path without making you manually configure router port forwarding and firewall rules first.
Connect To IP fails after I paste the address
Section titled “Connect To IP fails after I paste the address”- Check that the server status shows
Onlinein HaruHost. - Re-copy the exact
Server Addressfrom HaruHost. - If the tunnel was enabled while the server was already running, use the
How to connectflow again so HaruHost can restart the server with the tunnel prepared. - If you use manual firewall and port forwarding instead of the tunnel path, re-check those rules separately.
The password is rejected
Section titled “The password is rejected”- Copy the exact
Server Passwordfrom HaruHost if one is shown. - If HaruHost shows no password card, confirm the server is not using a password managed outside HaruHost.
- If the password was changed recently, restart the server before testing again.
Summary
Section titled “Summary”The flow is simple:
- Open
How to connectin HaruHost. - Let HaruHost prepare or restart the server for
Tunnelif needed. - Copy the full
Server Address. - Paste that address into
Connect To IPin 7 Days To Die. - Enter the server password only if HaruHost shows one.