Migrate from HaruHost v1
Move an existing Ark Survival Ascended server from HaruHost v1 into HaruHostGSM. First import the server, then decide if you want to manage settings with Auto Config or continue with Manual Config.
Step 1 — Import your v1 server
Section titled “Step 1 — Import your v1 server”- Follow the Import guide to add the existing server folder.
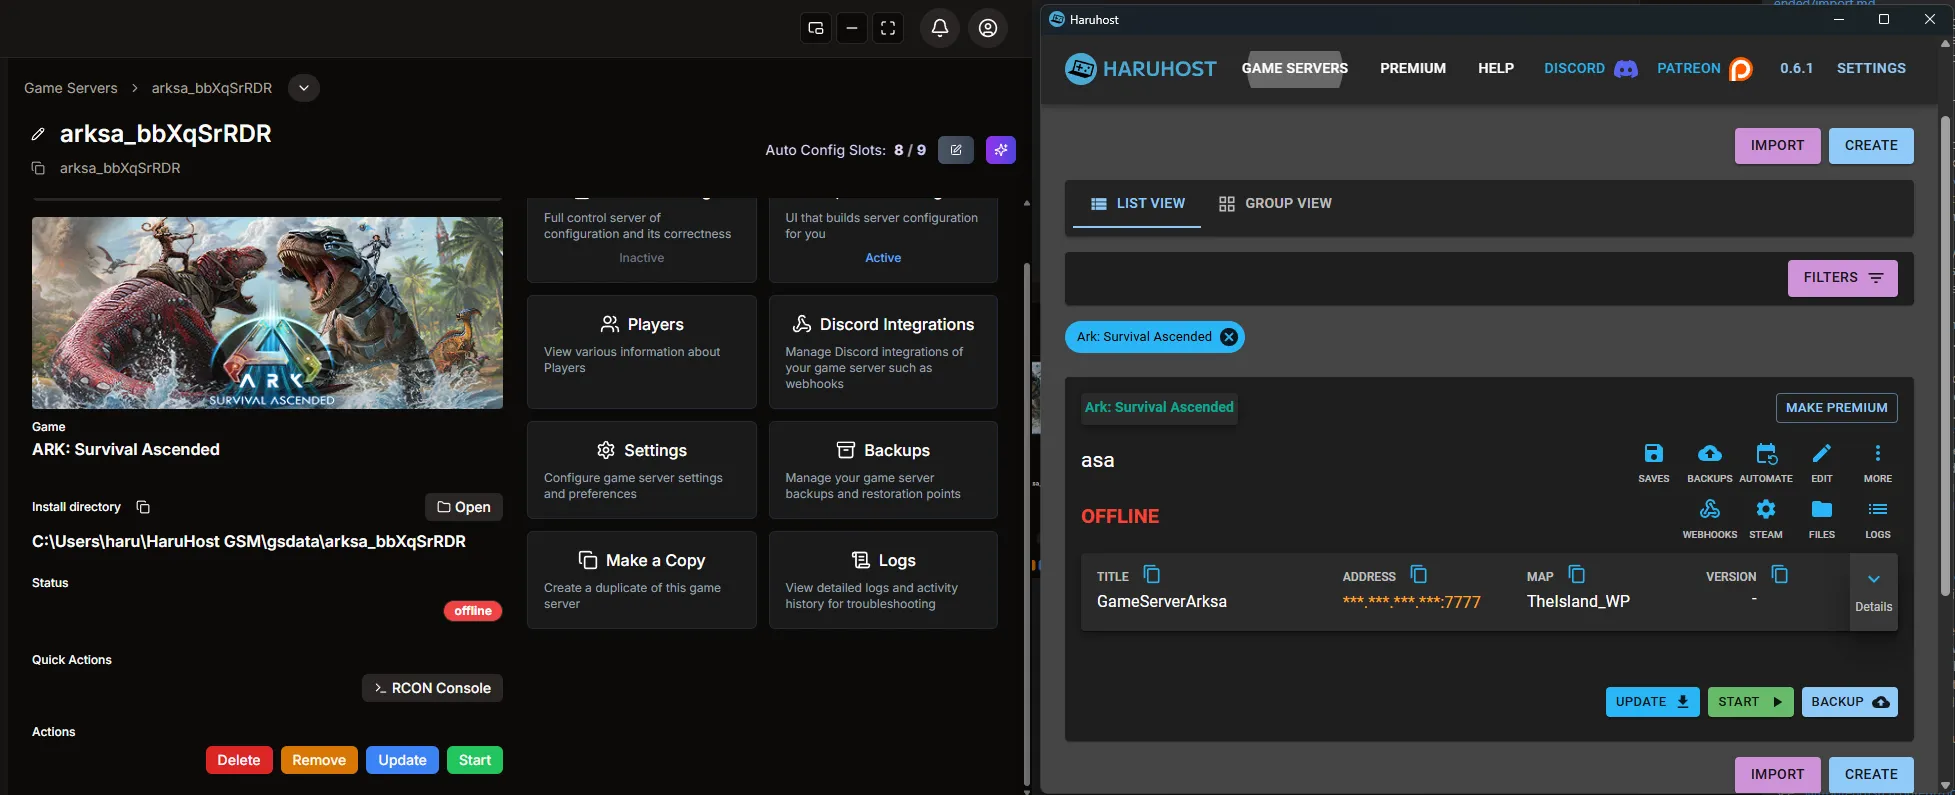
When the import succeeds, your saves and files remain intact.
Choose your workflow
Section titled “Choose your workflow”- Auto Config: visual forms for common settings, with INI editors where needed.
- Manual Config: keep using raw files and launch arguments.
You can switch between them anytime. Start the server immediately after import; save data persists either way.
Option A — Use Auto Config
Section titled “Option A — Use Auto Config”All save data is preserved. To keep your previous configuration, reapply settings in Auto Config or paste your prior INI content into the file editors.
- In HaruHost v1, open File Config for your Ark server.
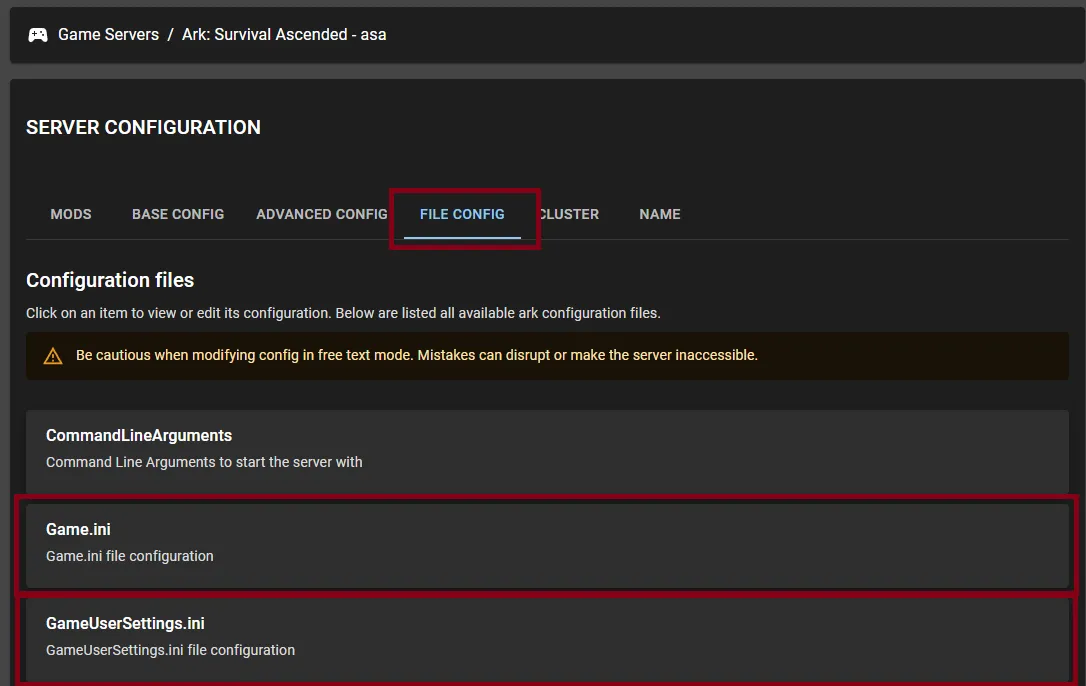
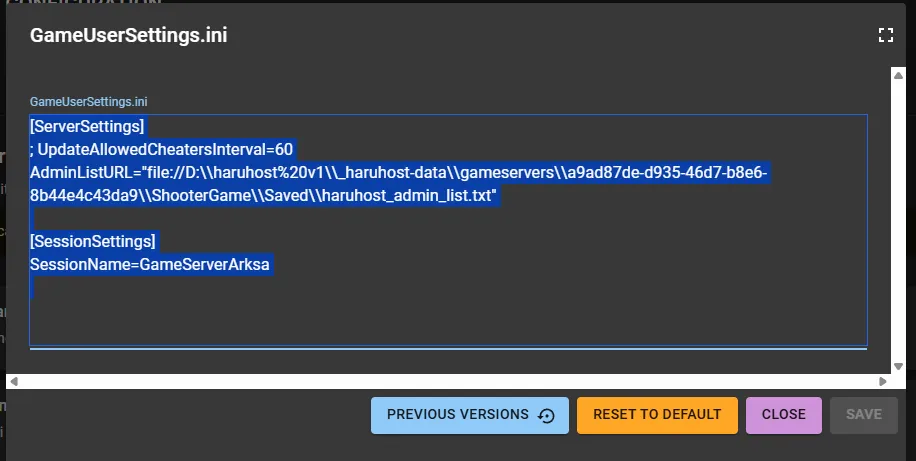
- Open
GameUserSettings.ini, press CTRL+A then CTRL+C to copy the contents.
- In HaruHostGSM, go to Auto Config and open the
GameUserSettings.inicard.
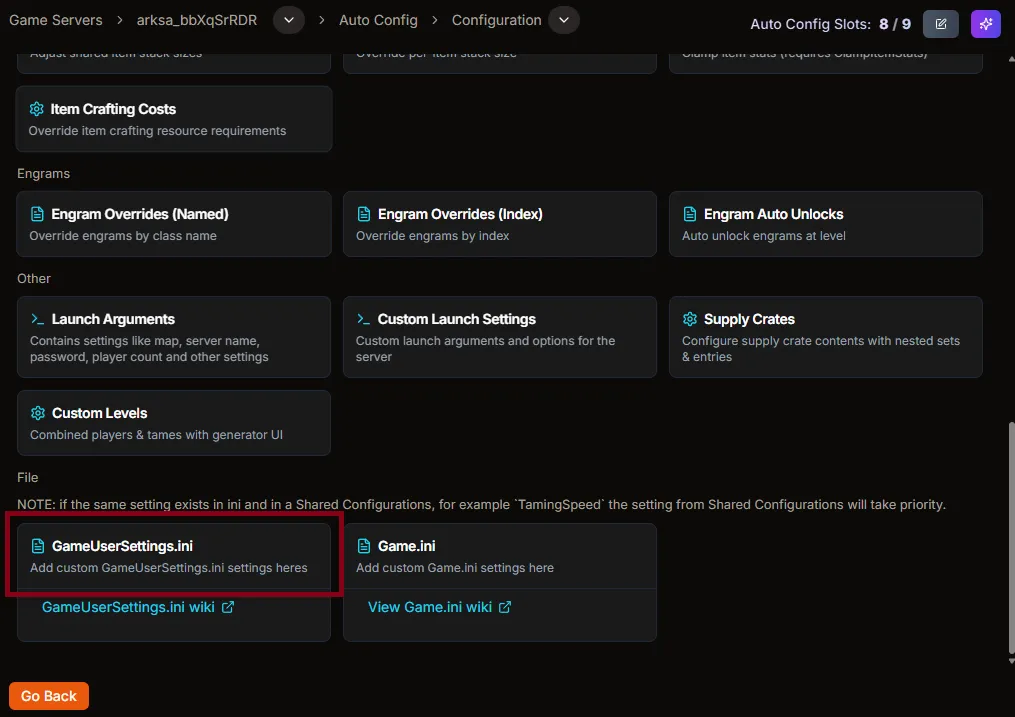
- Click inside the editor, press CTRL+V to paste, then click Save.
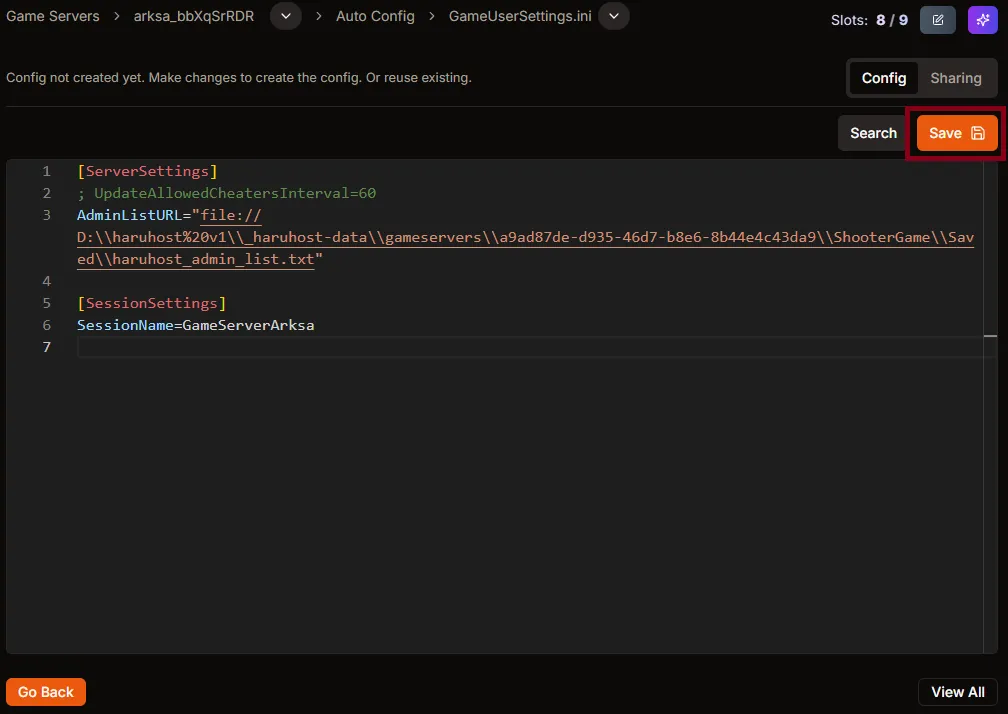
Important: remove keys that are managed elsewhere to avoid conflicts, such as SessionName and AdminListURL. See the field list here: GameUserSettings.ini
- Repeat the same copy/paste process for
Game.ini.
That’s it. You can also reconfigure using Auto Config sections like Map, Mods, Cluster, and more as needed.
Learn more: Auto Config overview
Option B — Use Manual Config
Section titled “Option B — Use Manual Config”Prefer the exact v1 text values? Copy your launch arguments and continue with Manual Config.
- In HaruHost v1, open File Config and then
CommandLineArguments.
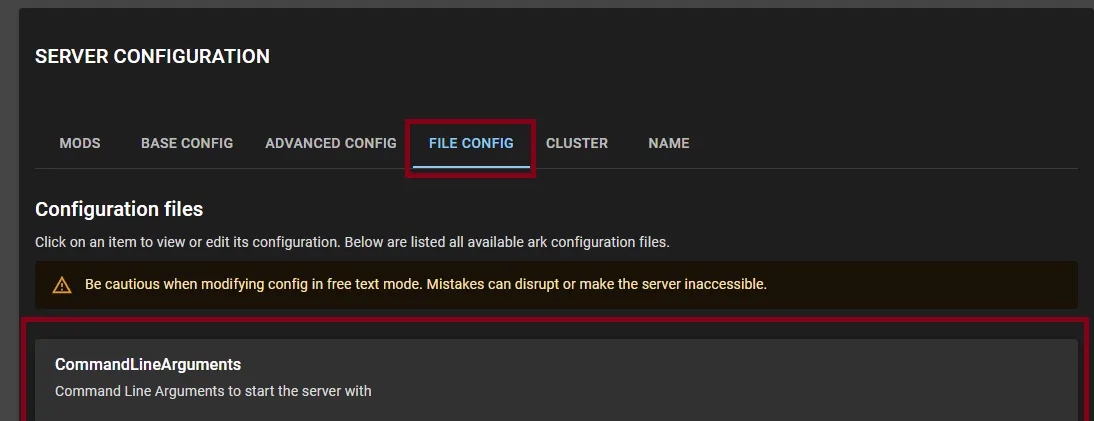
- Select all and copy the text.
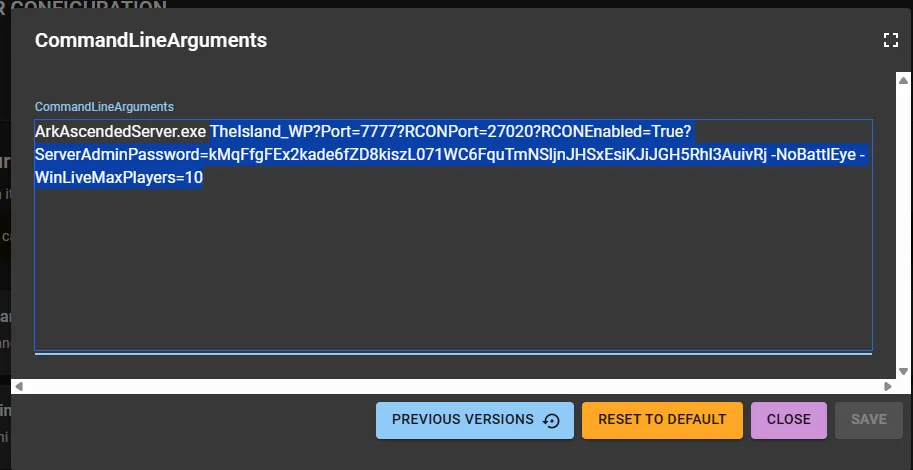
- In HaruHostGSM, open Manual Config. Clear any existing launch arguments and paste the copied text, then Save.

Note: if you accidentally pasted the executable name (e.g., ArkAscendedServer.exe) into Launch Arguments, remove it. The executable is selected separately in the Launch File field.
You can scroll further down to add, include, or edit configuration files directly in Manual Config. See: Manual Config
Set manual connection details
Section titled “Set manual connection details”After import, Manual Config requires connection metadata so HaruHostGSM can properly manage and monitor the server.
- Fill in the Internal IP, the active RCON port, and the Server Admin password, then click Save.
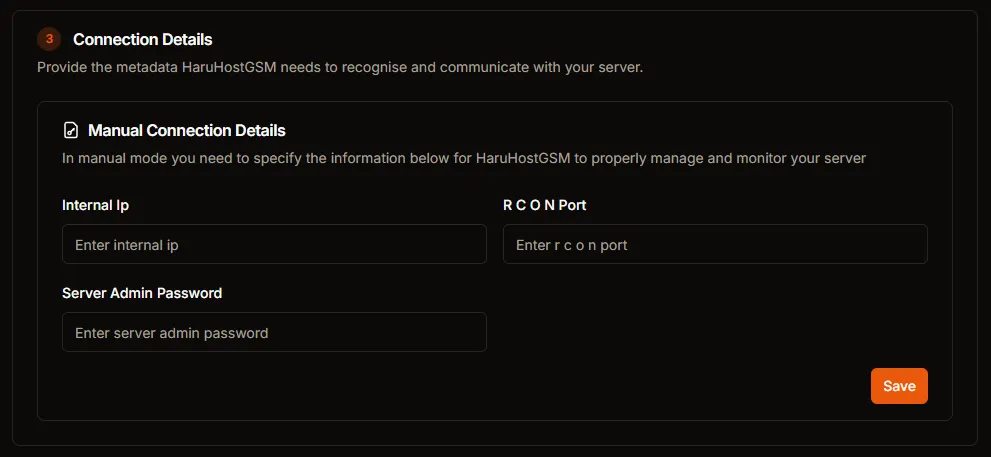
Use the same IP and RCON port you specified in Launch Arguments, and the current Server Admin password. If you later change -MULTIHOME, RCONPort, or the admin password (ServerAdminPassword), update these fields to match.
After migration
Section titled “After migration”- Start the server to verify it boots with your settings.
- Use the Details tab to copy a direct address or the Title for players to join.
- Consider switching to Auto Config gradually; many settings are faster to adjust and safer than raw INI edits.