How to install preaquatica
Install the preaquatica build of Ark Survival Evolved to get better mod support, faster server load times, and a smoother experience for your players. This guide shows how to create a new Ark Survival Evolved server and choose the preaquatica version during installation.
Location
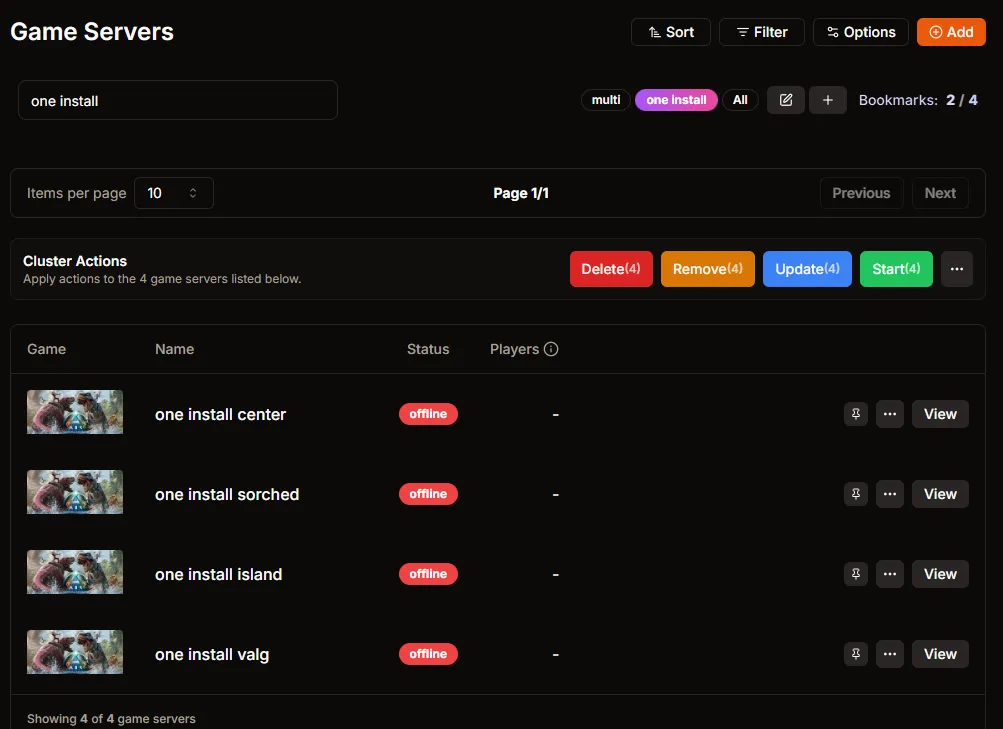
Section titled “Location”- Game Servers → Click Add
Create the Ark Survival Evolved server
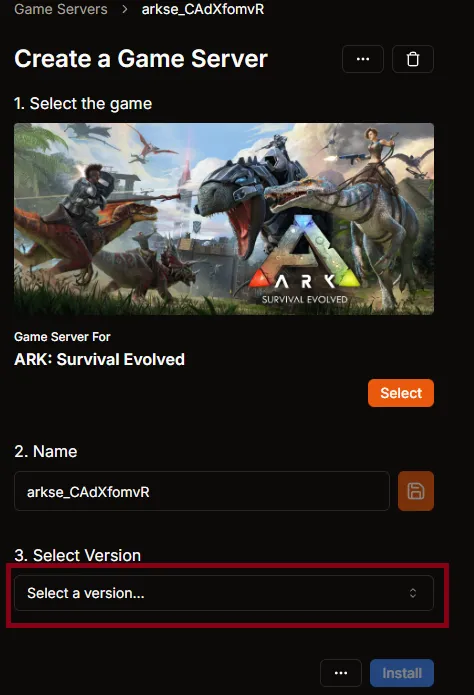
Section titled “Create the Ark Survival Evolved server”- Choose Create.

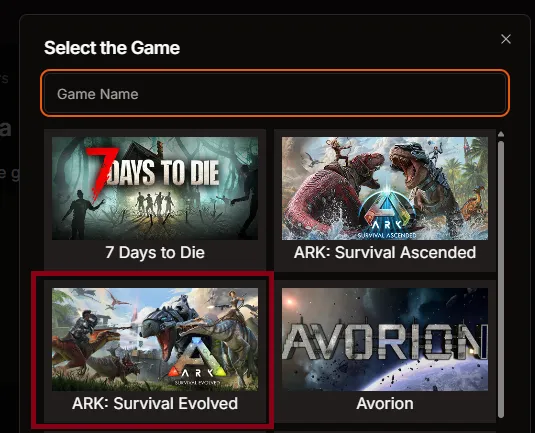
- Select the game: choose ARK: Survival Evolved from the game list.
- Name the server. Keep the default name or enter your own, then click the Save (disk) icon to store it.
Select the preaquatica version
Section titled “Select the preaquatica version”- In 3. Select Version, open the drop-down.
- Choose preaquatica from the version list.
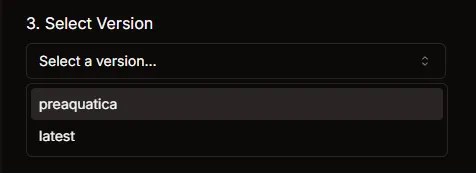
- Confirm that preaquatica is selected as the version at the bottom of the page.

Install preaquatica
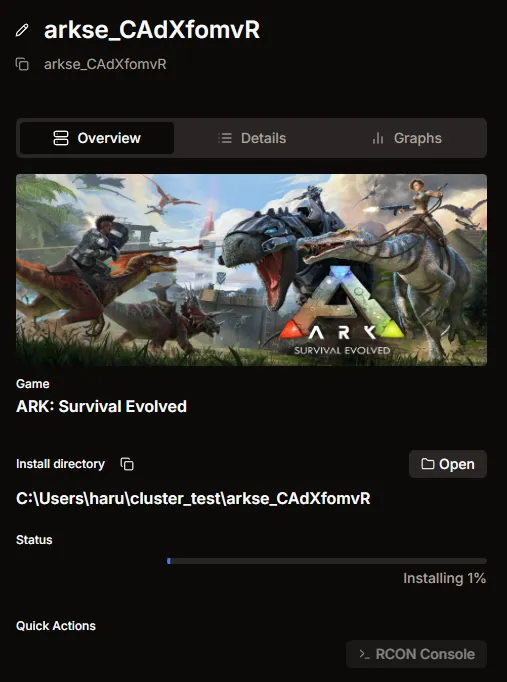
Section titled “Install preaquatica”- Click Install to start downloading and installing the preaquatica build for Ark Survival Evolved.
- Watch the Overview page to confirm the install is running.
Apply the change
Section titled “Apply the change”- When the status reaches offline, your Ark Survival Evolved preaquatica server is ready.
- Proceed to Auto Config to adjust maps, mods, and other settings, then start the server so players can join the updated version.