Installation
Set up an Ark Survival Ascended dedicated server the easy way with HaruHost. This guide walks you through fast creation, directory selection, and a one‑click install you can run immediately or later from the server page.
Location
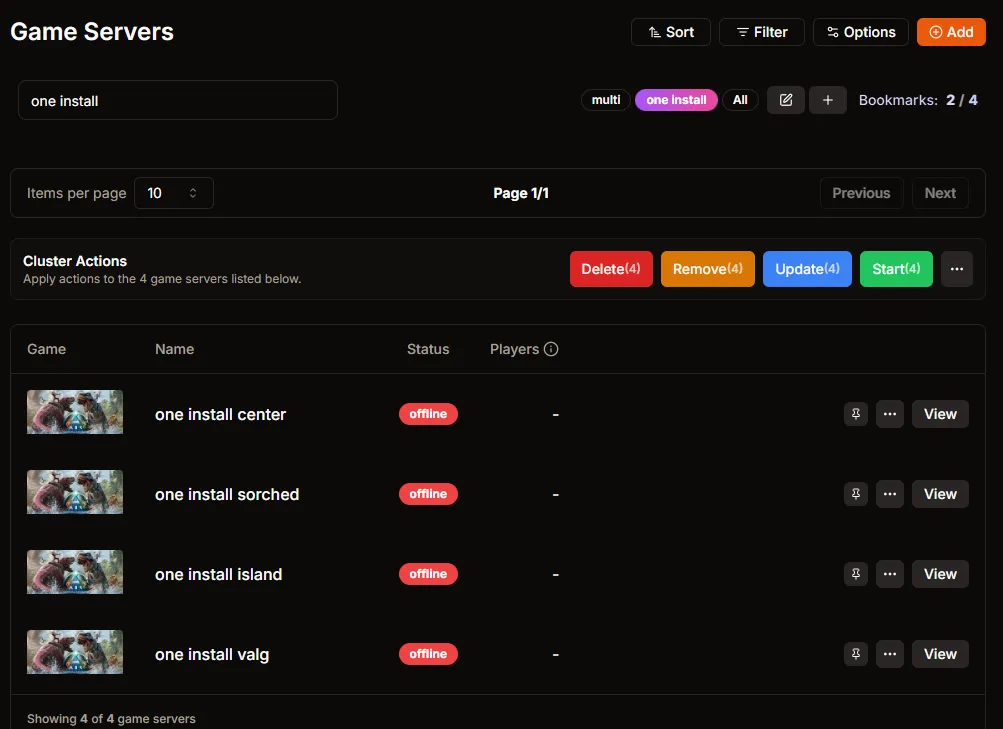
Section titled “Location”- Game Servers → Click Add
Create the server
Section titled “Create the server”- Choose Create.

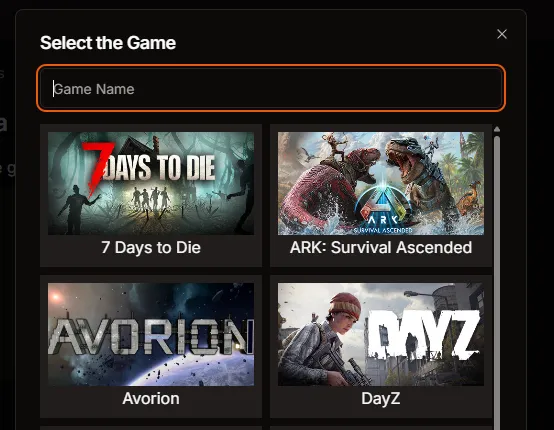
- Select the game: choose ARK: Survival Ascended.
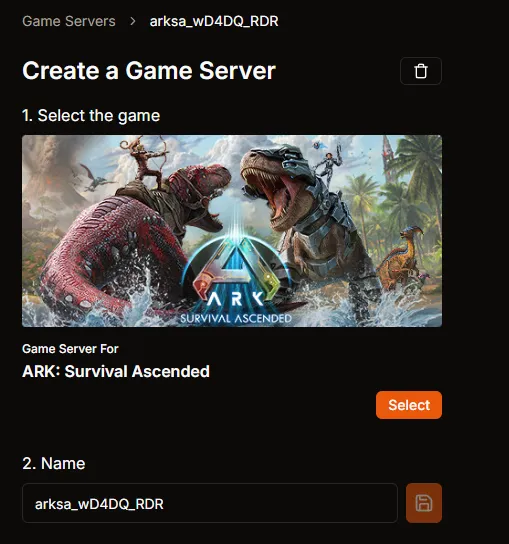
- Confirm the selection and name the server. The default name is a generated server ID — enter your preferred name and click the Save (disk) button next to the field.
- Installation directory. By default HaruHost selects the game server directory defined in Settings.
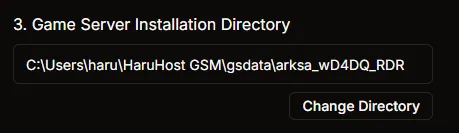
- Click Change Directory to point to a different location. Note: on the remote web version you must manually enter/set the full path.
- Choose the installation option:
- New Installation (default)
- Custom Directory
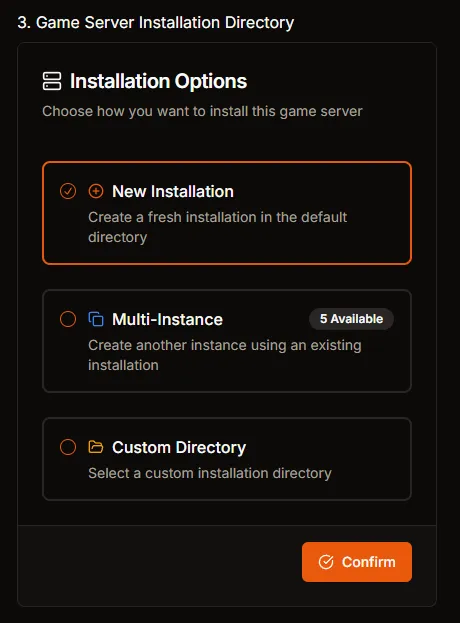
- Review other options. You can enable Install after creating now, or leave it off to install later from the server page. Leave Steam beta fields blank unless required.
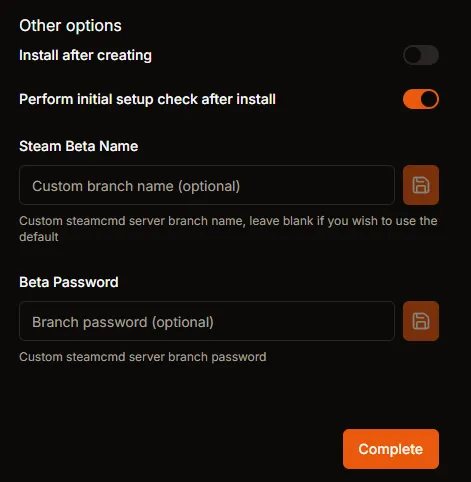
- Click Complete to finish creation.
Install now or later
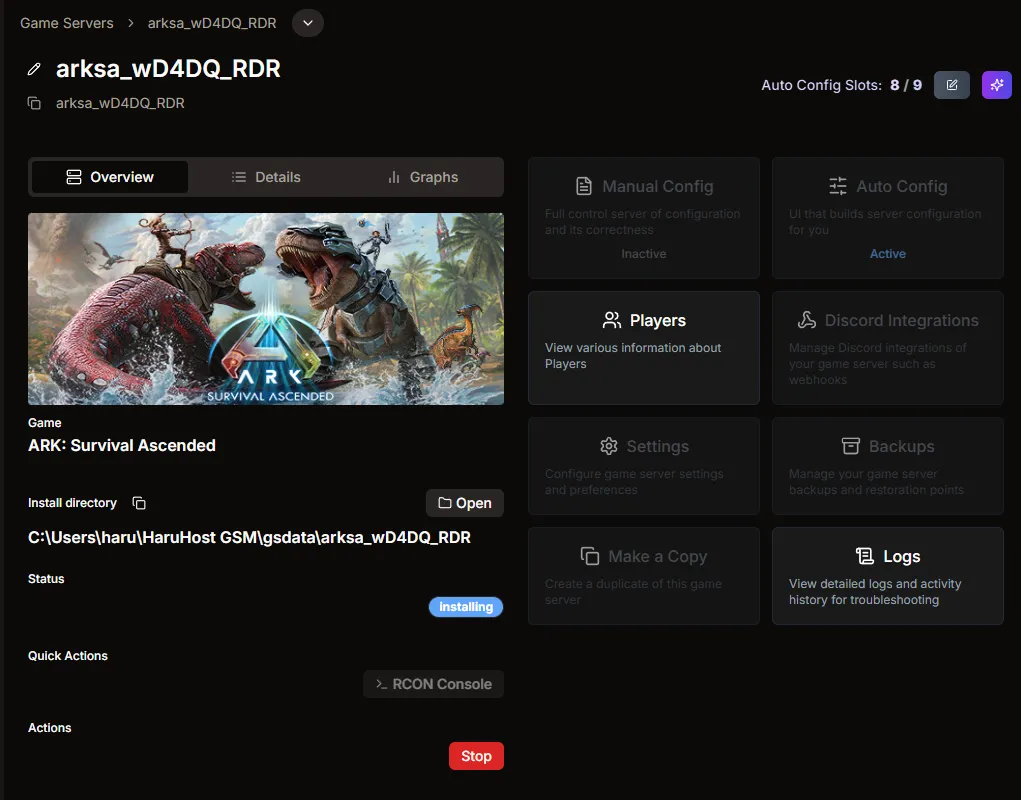
Section titled “Install now or later”- If you toggled Install after creating, installation begins immediately. The server Overview shows status as installing.
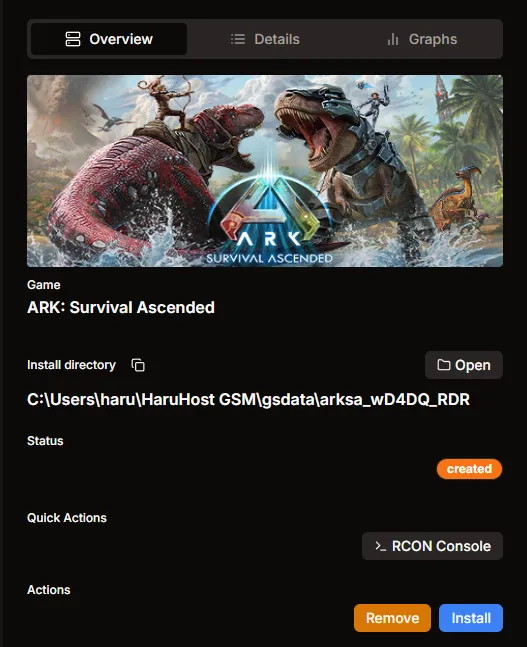
- If you chose to install later, open the server and click Install.
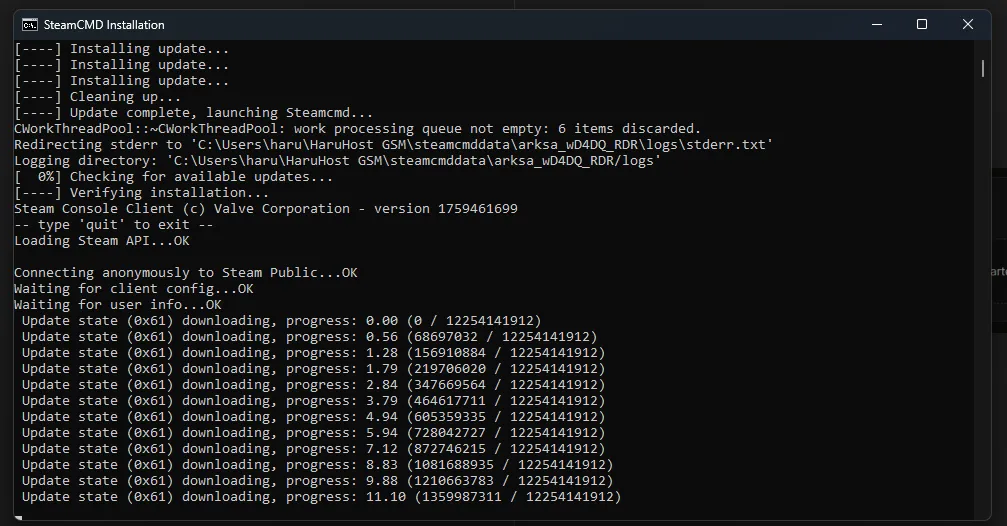
Monitor installation
Section titled “Monitor installation”- Open the SteamCMD console to view progress. The console is minimized by default; click it on your taskbar to expand.

Apply the change
Section titled “Apply the change”- When installation completes, the status updates. You can proceed to configuration (Auto Config) and start the server.